Introduction
The AI Photo Studio in Klyra AI is a multi-purpose image editing suite built on advanced Stable Diffusion algorithms. Whether you want to:- Reimagine an image with new artistic directions,
- Erase, replace, or inpaint elements,
- Outpaint to expand the canvas,
- Convert sketches or structures into finished art,
- Upscale conservatively or creatively,
- Or even create a new image from text —
How to Use
🔎 Navigation: Dashboard → Left Panel → AI Images & Editing → AI Photo Studio
Select your task
From the Task dropdown (default = Reimagine), choose the editing function you want:
- Reimagine – Generate a new artistic interpretation of your image.
- Same Style Image – Apply the style of your uploaded image to new generations.
- Erase Objects – Select and remove unwanted elements.
- Inpaint – Replace or fix specific areas inside your image.
- Outpaint – Extend the canvas beyond the original boundaries.
- Search and Replace – Swap targeted objects (e.g., “replace apple with orange”).
- Remove Background – Isolate the subject from its backdrop.
- Sketch to Image – Convert rough sketches into polished visuals.
- Structure to Image – Generate new images guided by structural outlines.
- Conservative Upscale – Improve quality while keeping details intact.
- Creative Upscale – Enhance with AI-added creative flair.
- Text to Image – Generate a fresh image directly from your prompt.
Upload target image
- Click Upload or Drag & Drop your file.
- Supported formats: PNG, JPEG, WEBP.
- Not required for Text to Image (you only provide a prompt).
Enter your prompt
- Write clear instructions for the AI.
- Examples:
- Reimagine → “Transform this living room into a futuristic cyberpunk lounge.”
- Inpaint → “Replace the sky with a sunset.”
- Erase Objects → “Remove the coffee mug from the desk.”
Advanced settings (optional)
Fine-tune the generation process with Advanced Settings:
- Negative Prompt – Specify what to avoid (e.g., “no text, no extra people”).
- Creativity (default 0.5) – Controls freedom of interpretation (0 = faithful, 1 = very imaginative).
- Control Strength (default 0.7) – Balances influence of original image (0 = minimal, 1 = maximum).
- Seed (default 0) – Fix randomness for repeatable results (0 = random each time).
🔹 AI Photo Studio Capabilities in Action
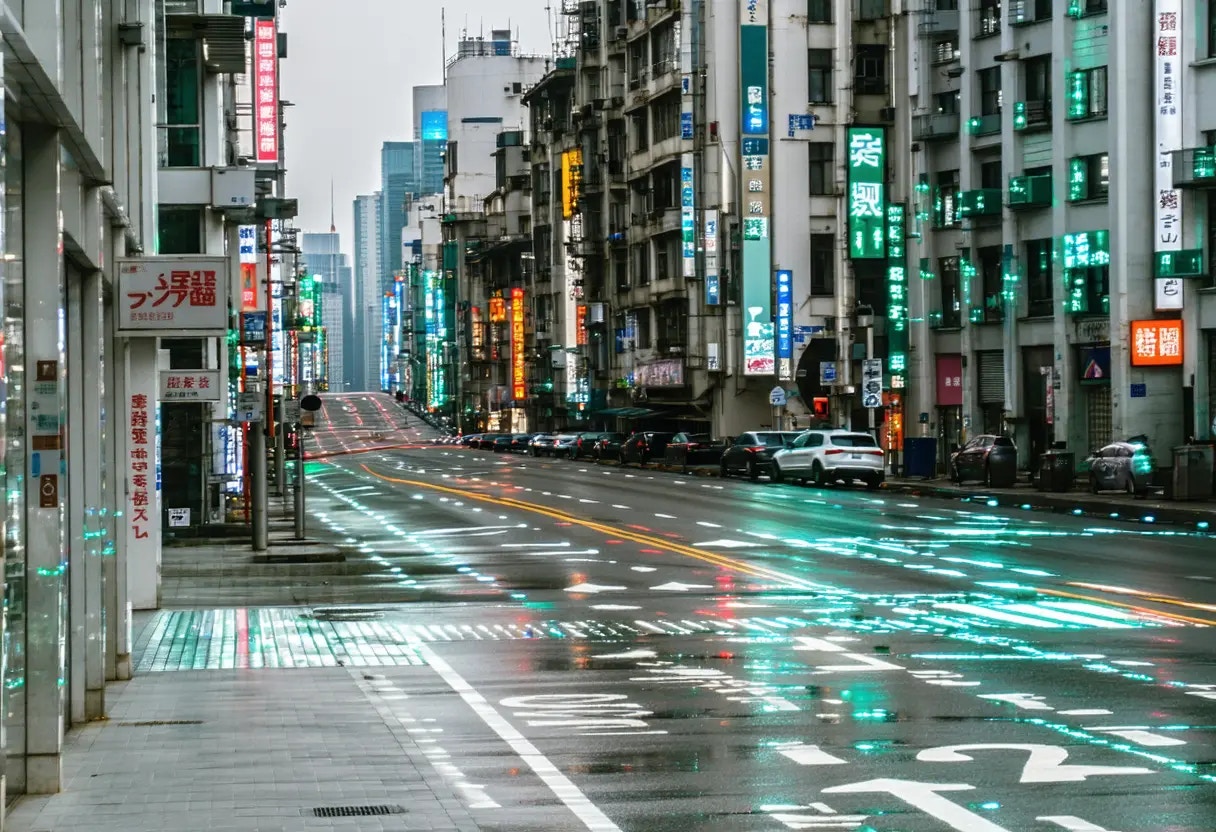
Below are practical examples of how each feature works. Each description can be paired with its generated image output for demonstration.🔹 Reimagine
-
Input: Street photo
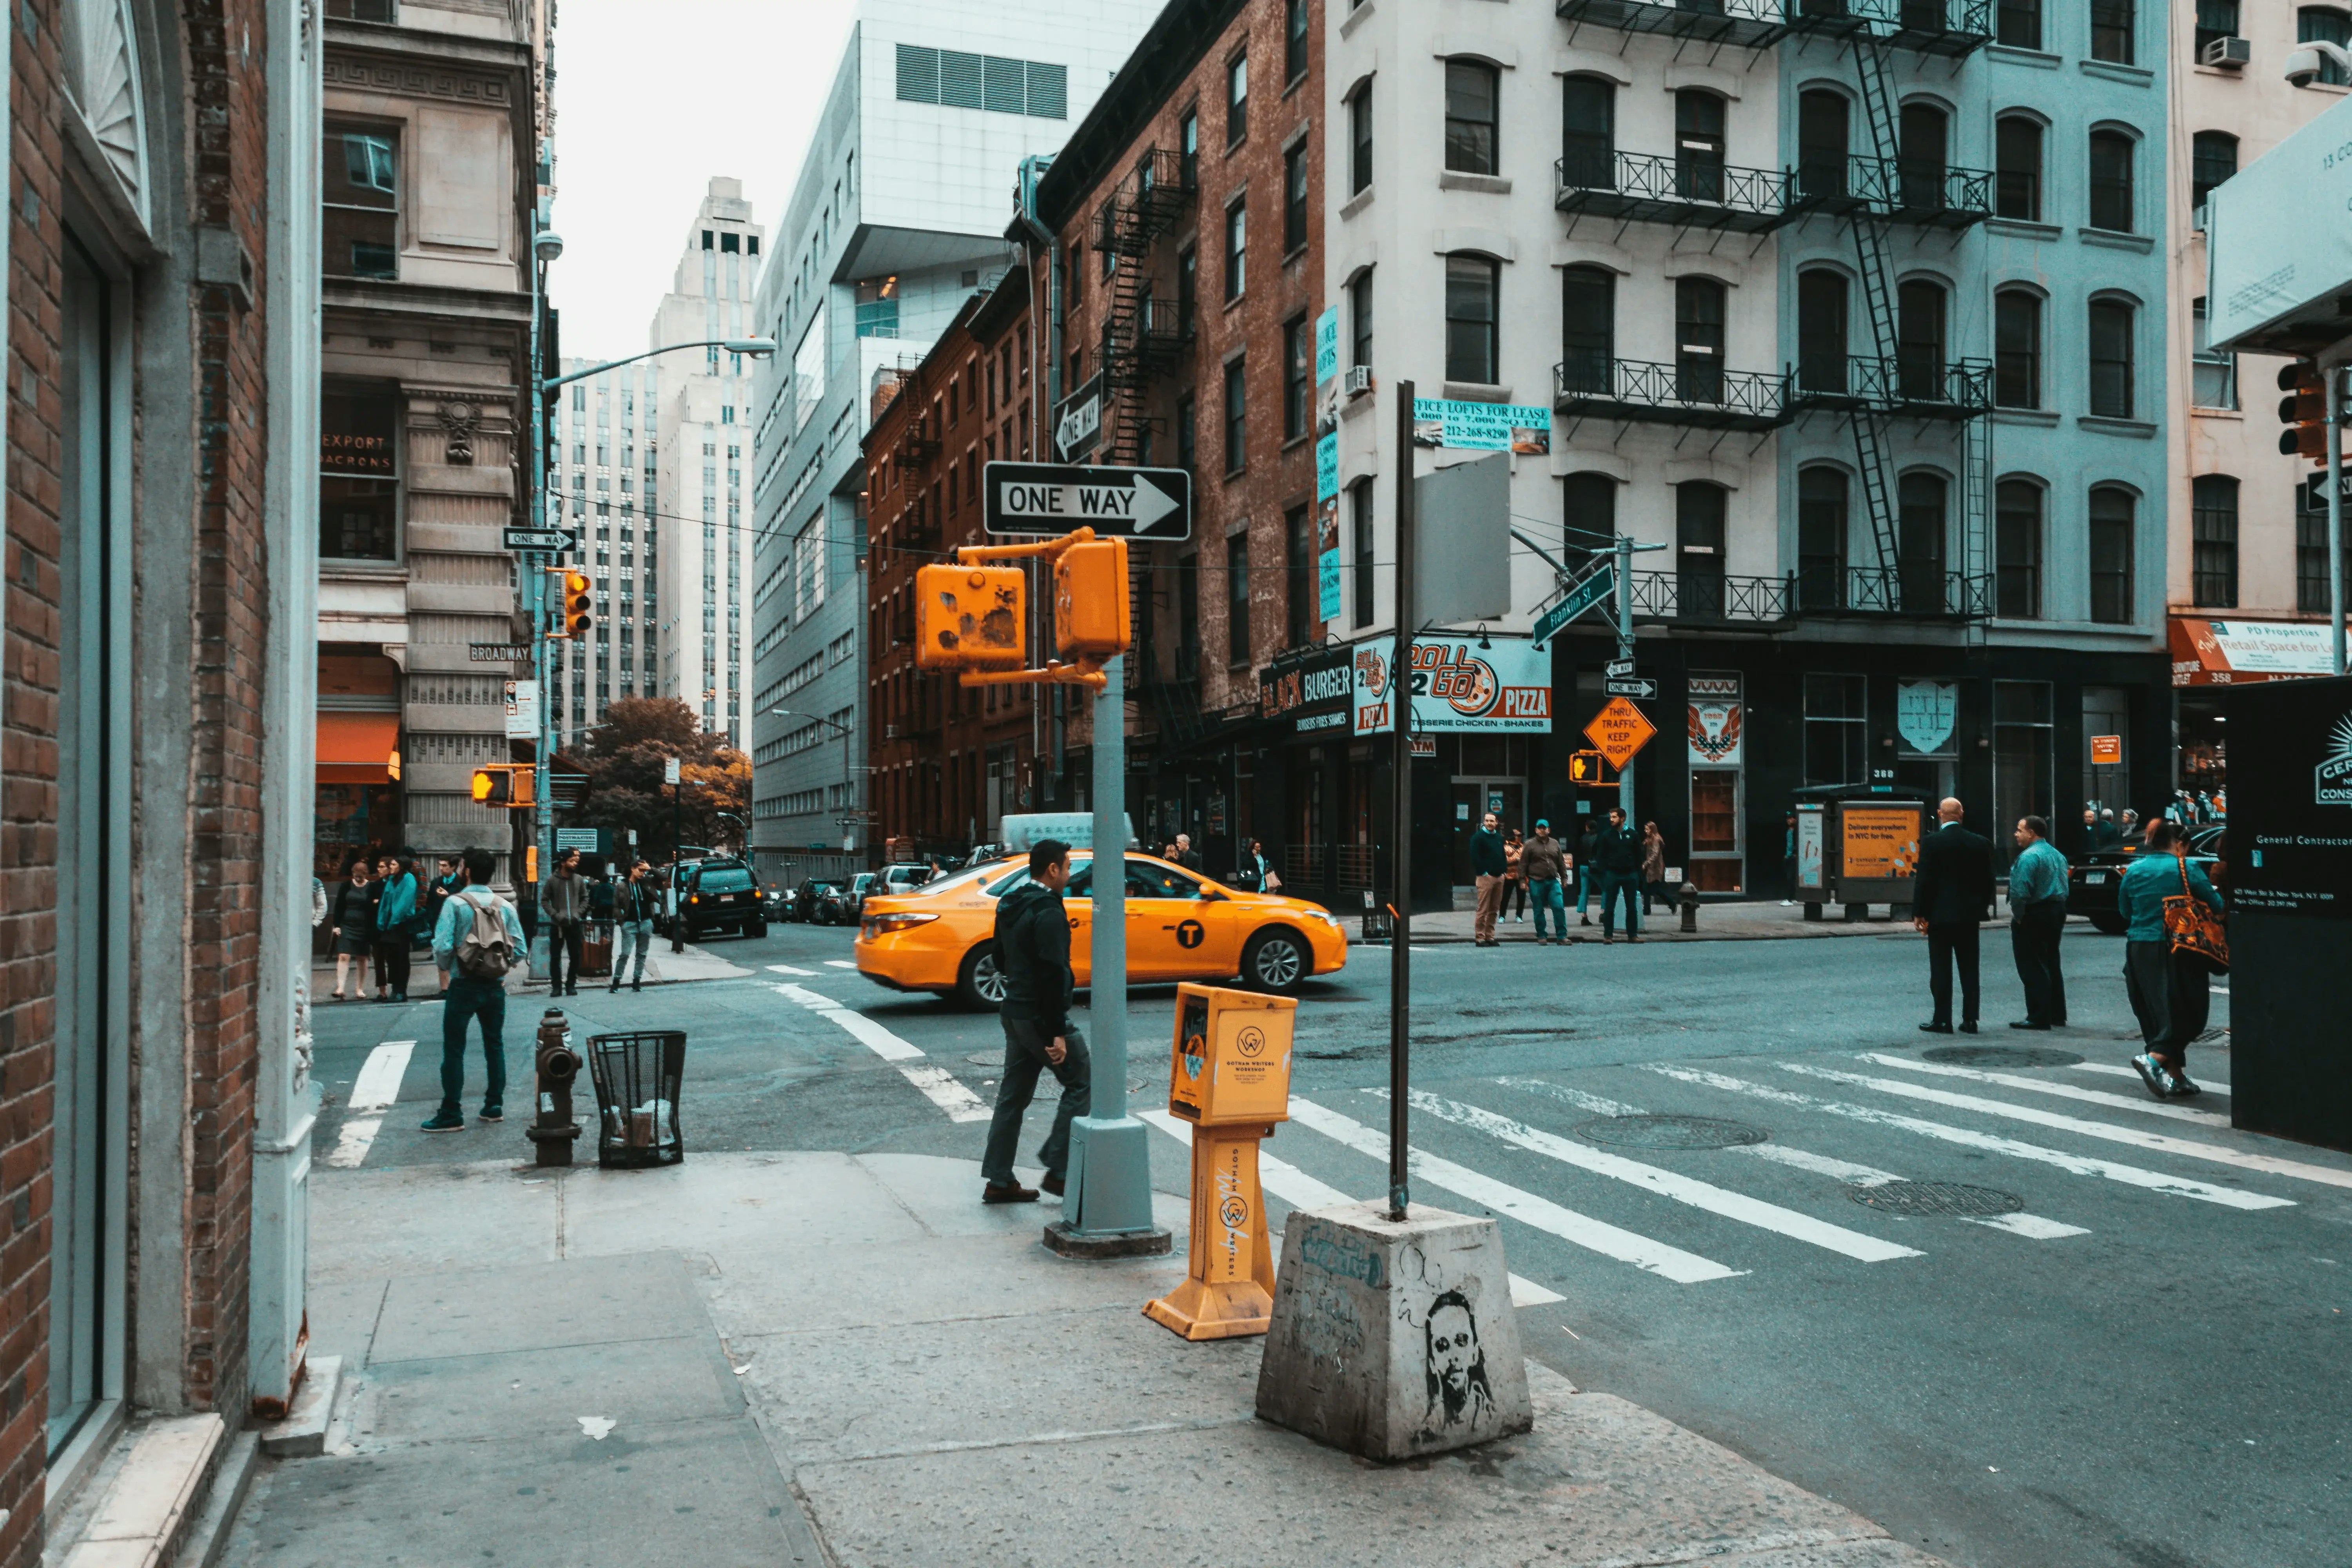
- Prompt: “Reimagine this as a futuristic neon cyberpunk street scene.”
- Use Case: Creative experimentation & mood transformation.
-
Output:
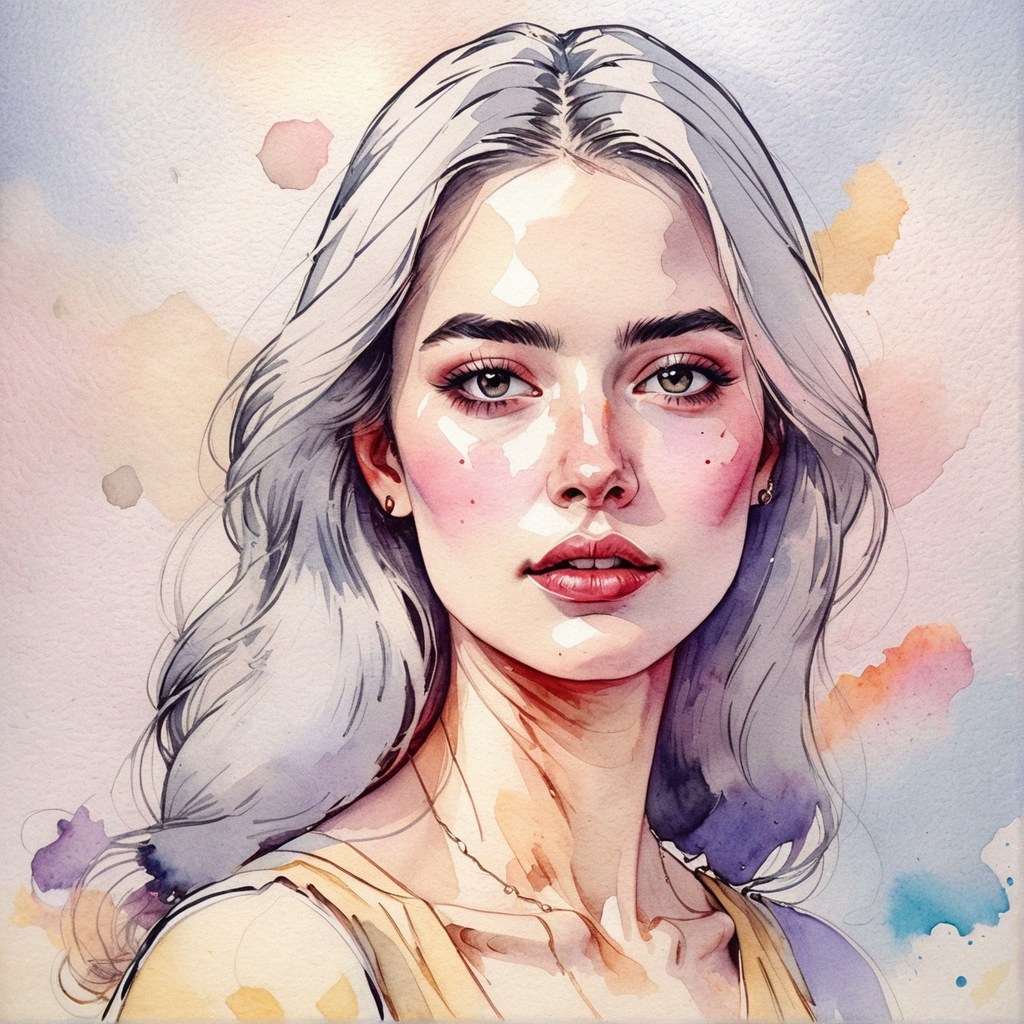
🔹 Same Style Image
-
Input: Watercolor painting

- Prompt: “Generate a portrait of a woman in the same watercolor style as the reference immage”
- Use Case: Maintaining brand consistency or replicating artistic styles.
-
Output:
🔹 Erase Objects
-
Input: Desk photo
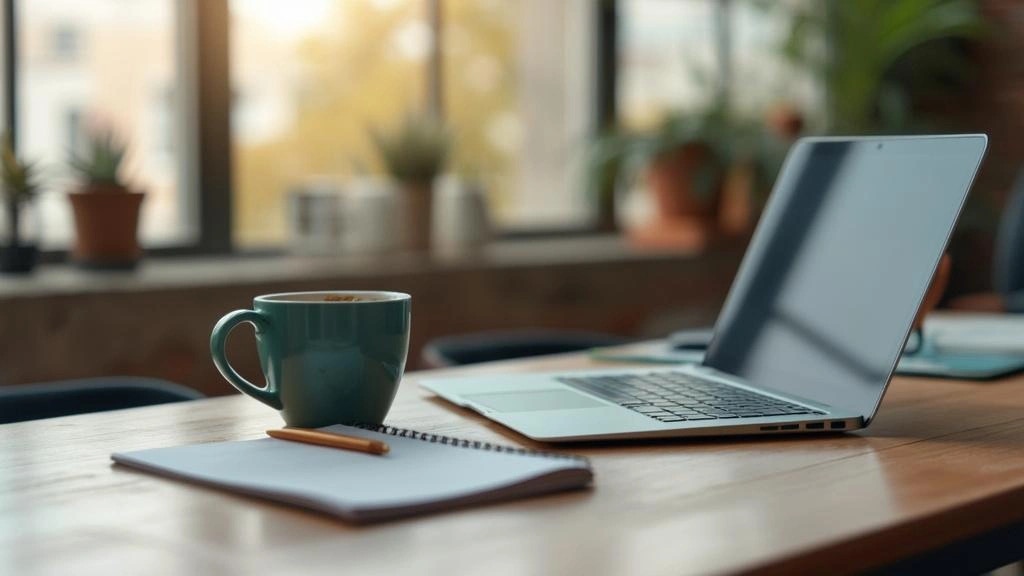
- Prompt: “Erase the coffecup from the desk.”
- Use Case: Removing distractions or unwanted objects.
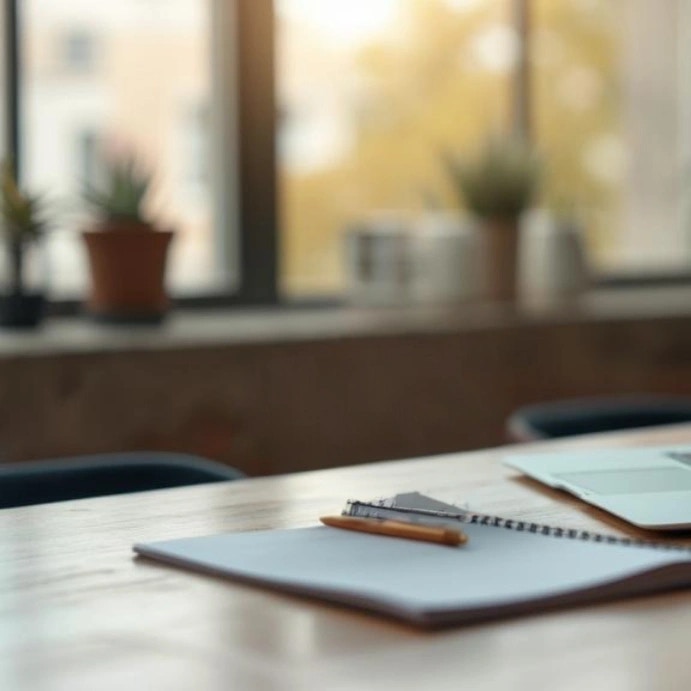
-
Output:
🔹 Inpaint
-
Input: Landscape photo
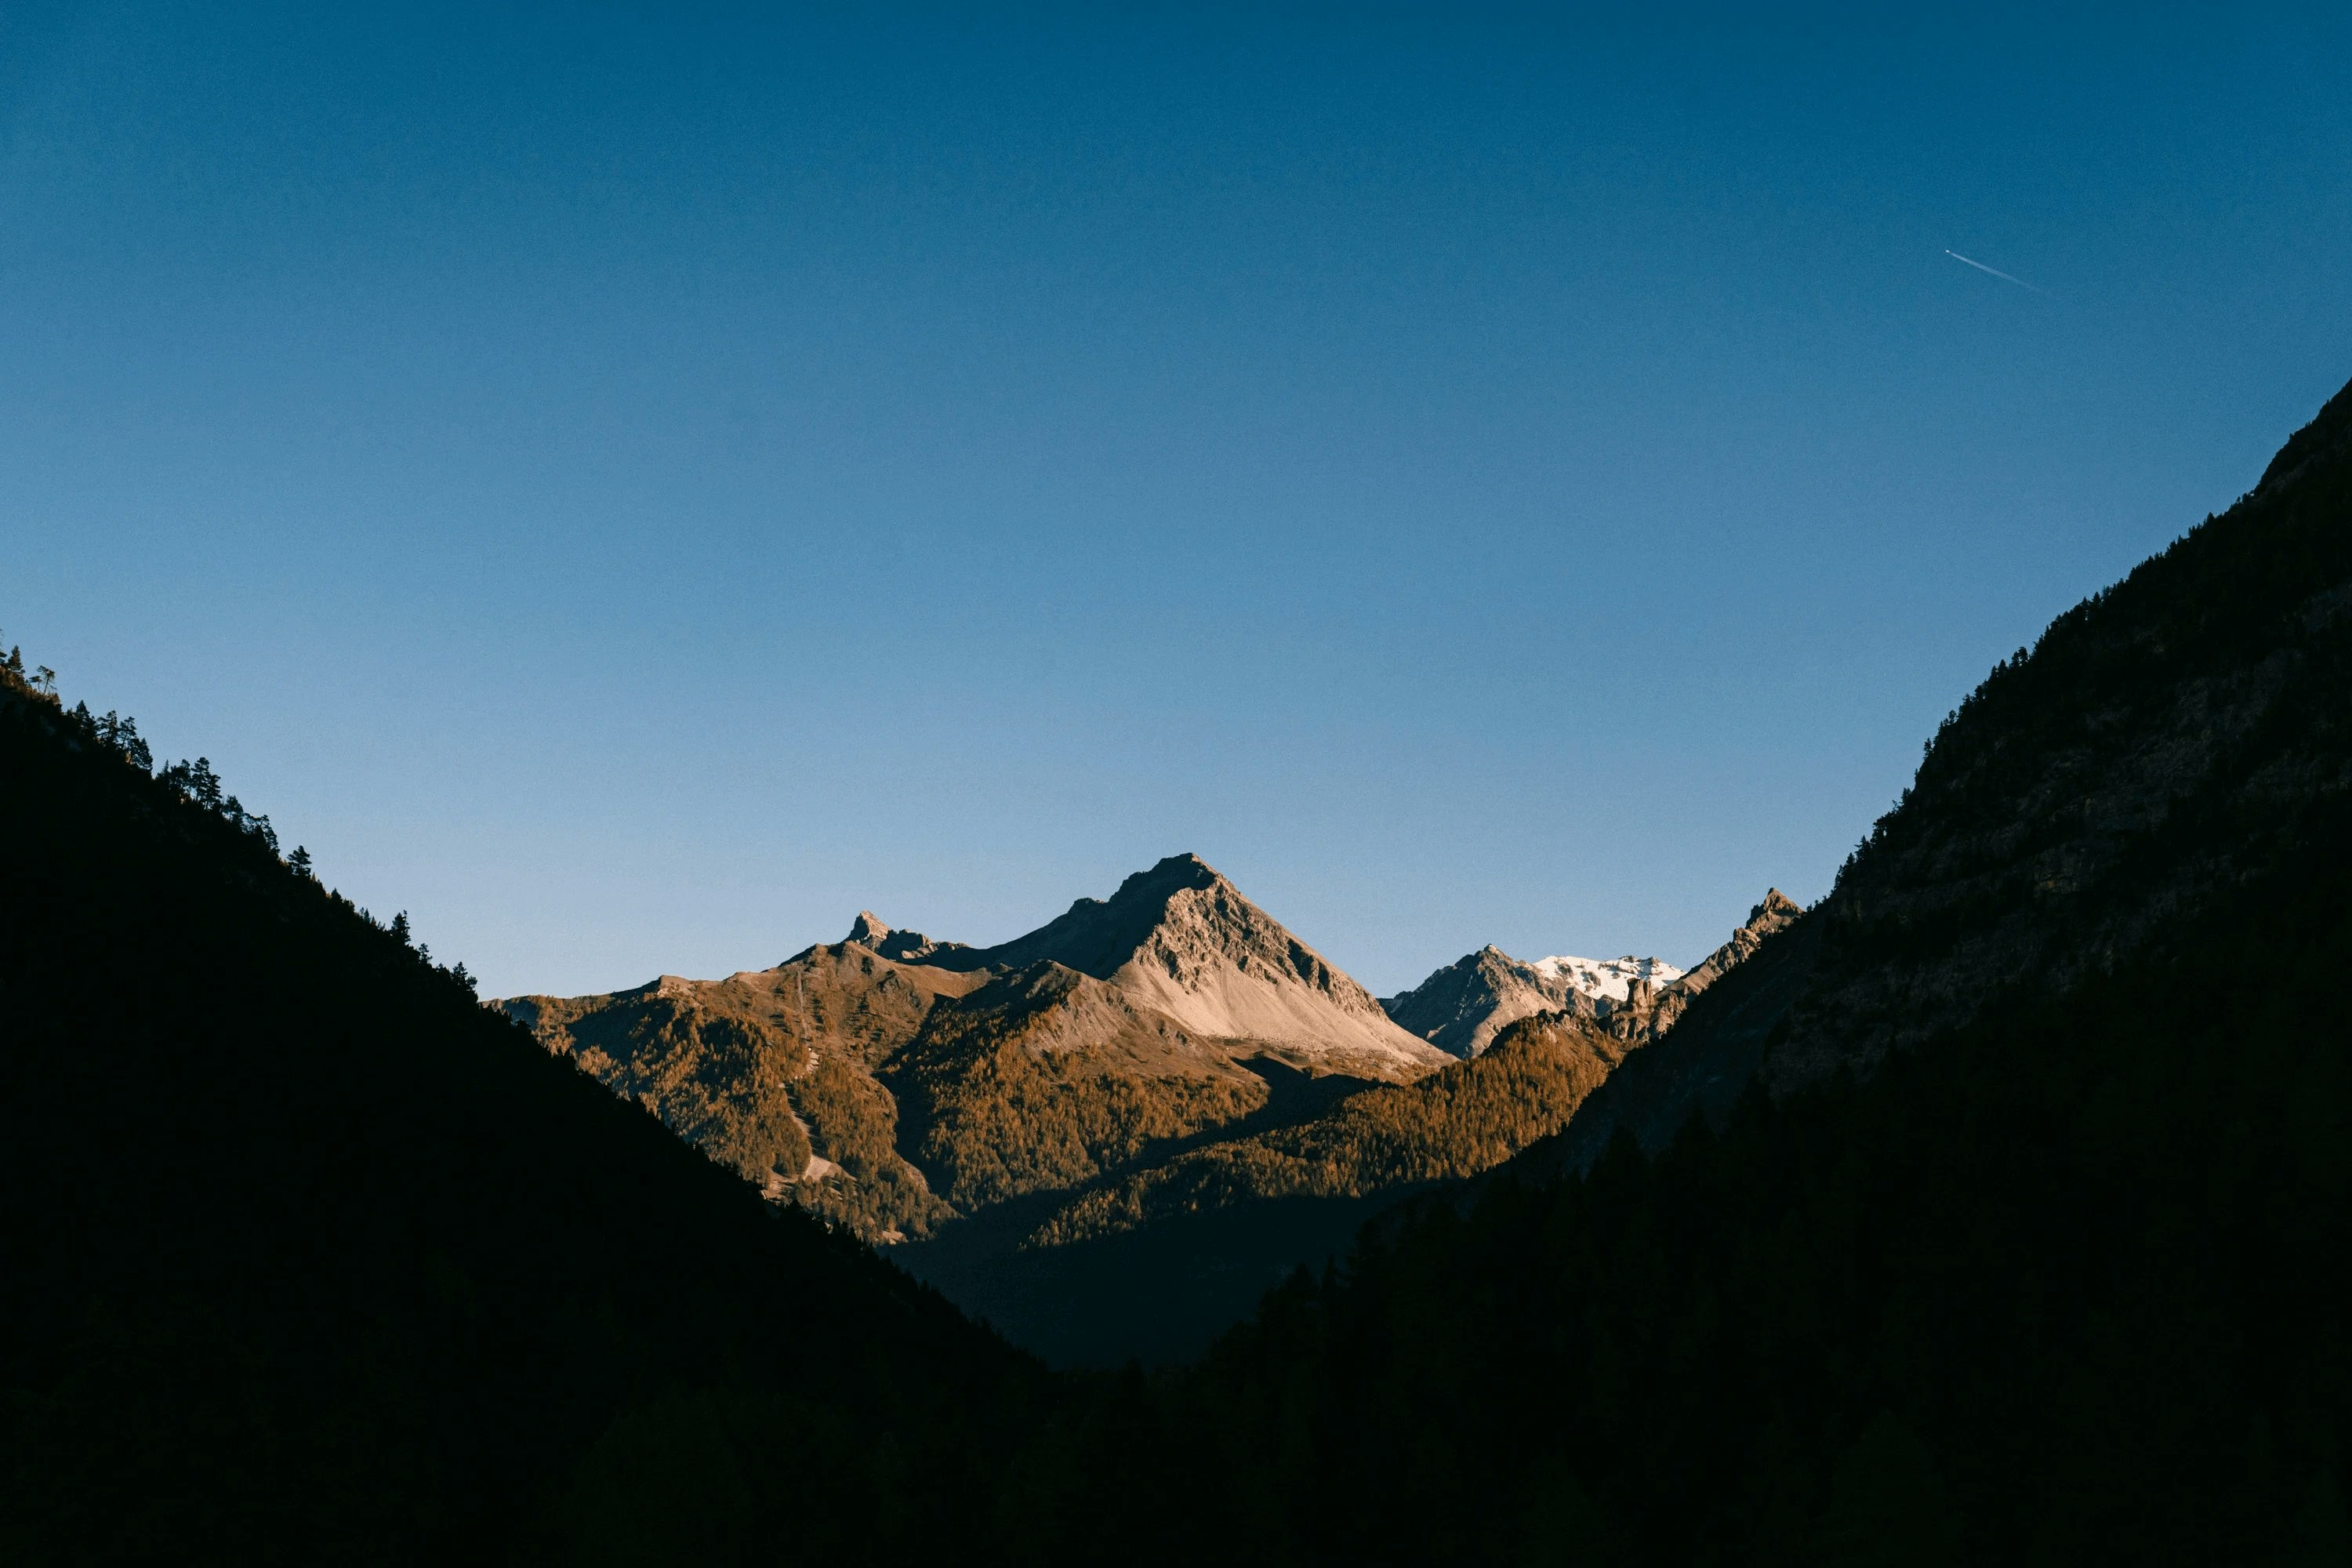
- Prompt: “Replace the cloudy sky with a bright sunset.”
- Use Case: Fixing or altering specific parts of an image.
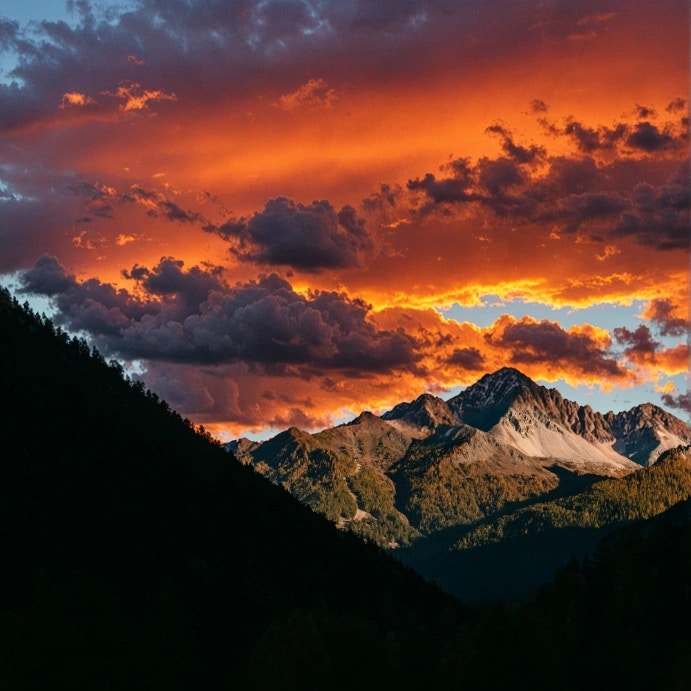
-
Output:
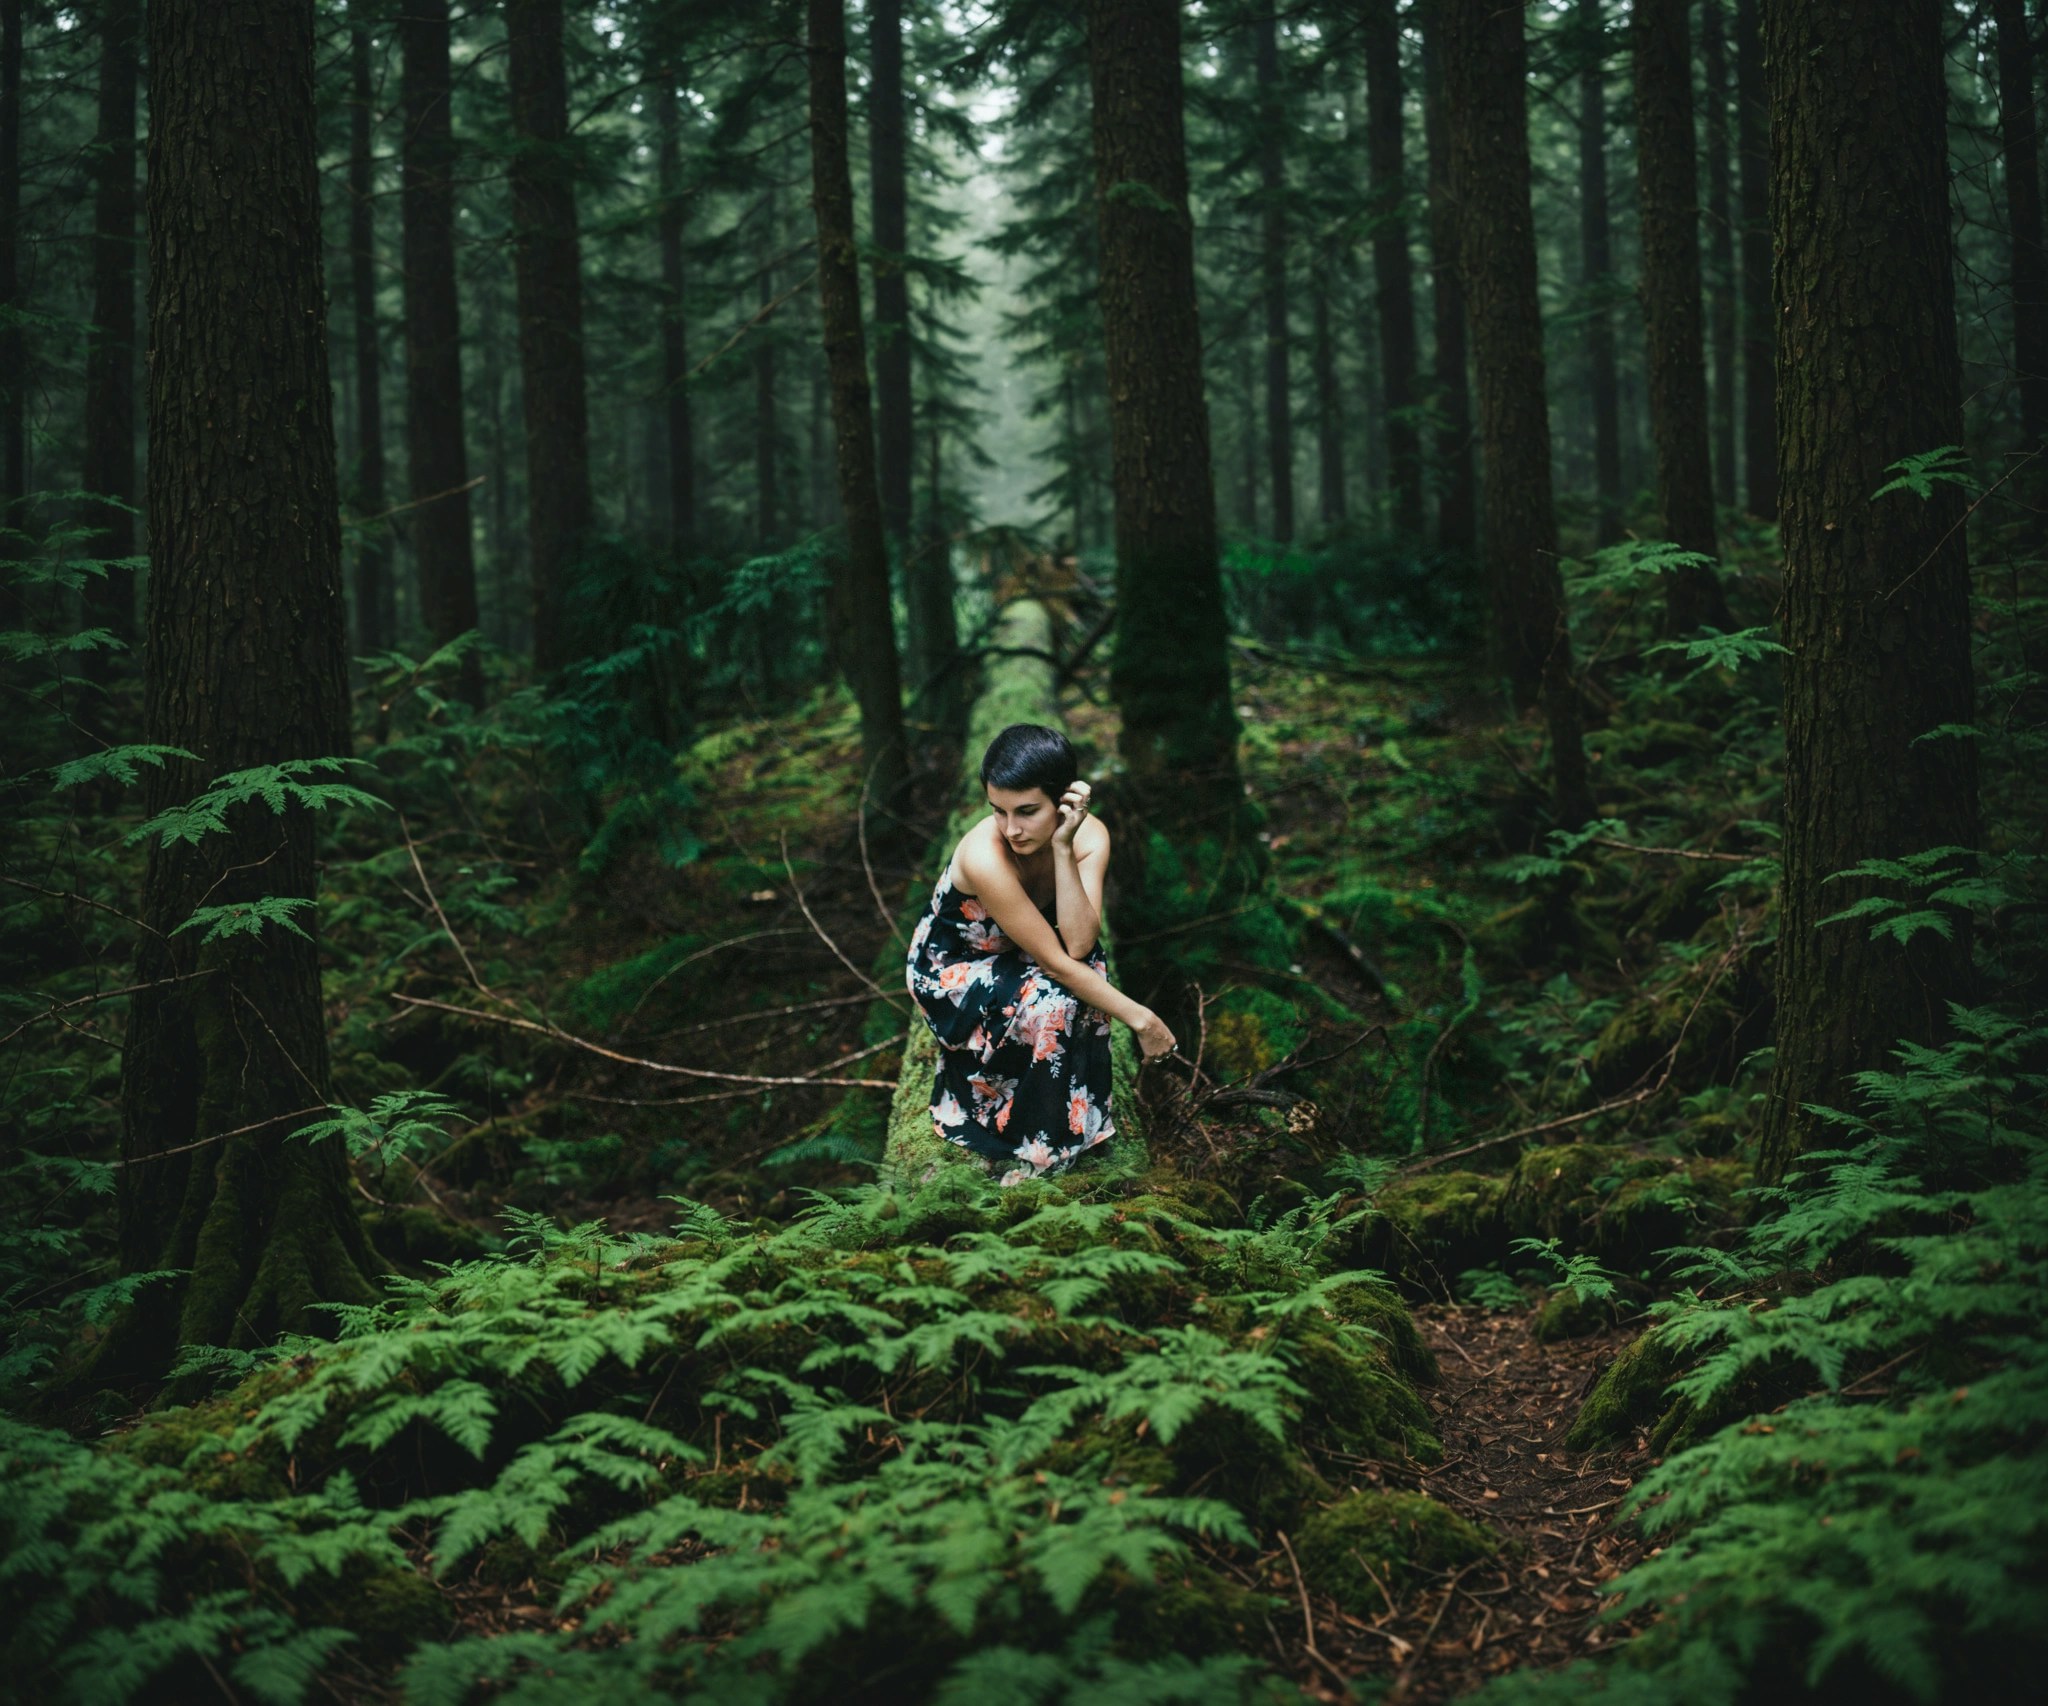
🔹 Outpaint
-
Input: Portrait photo
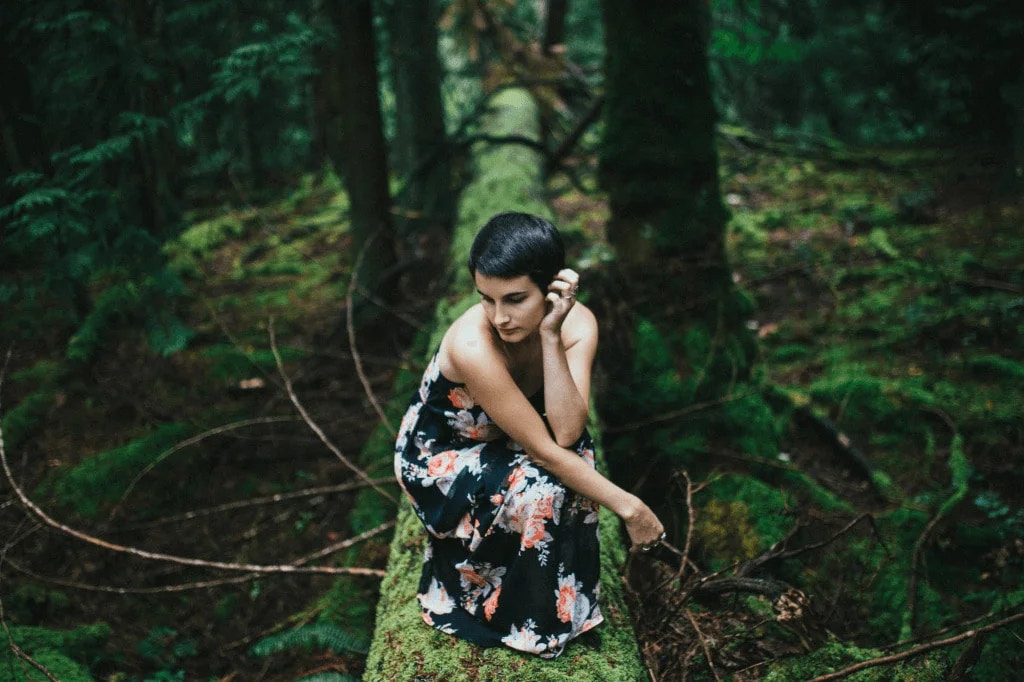
- Prompt: “Expand the forest with more tall trees and subtle morning mist, keeping natural lighting.”
- Use Case: Extending images for banners, posters, or creative layouts.
-
Output:
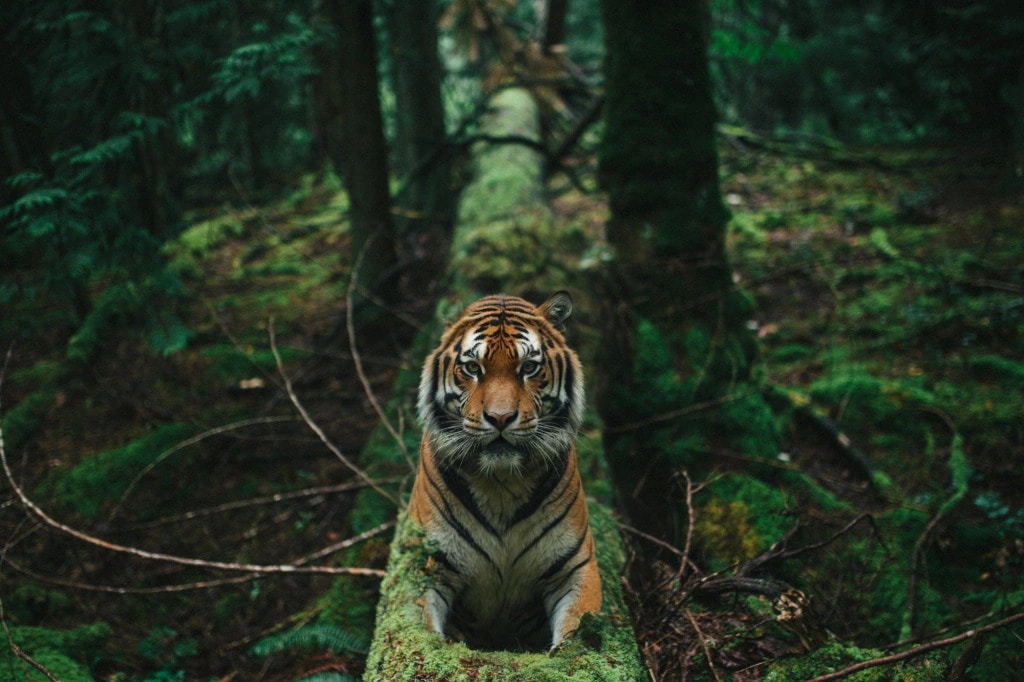
🔹 Search & Replace
-
Input: Portrait Photo
- Prompt: “A tiger sitting on a moss-covered fallen tree trunk in a dense forest, surrounded by tall trees and natural foliage, with soft natural light filtering through.”
- Search Prompt: “Replace the woman with a tiger sitting on the tree trunk”
- Use Case: Quick swaps in product/marketing visuals.
-
Output:
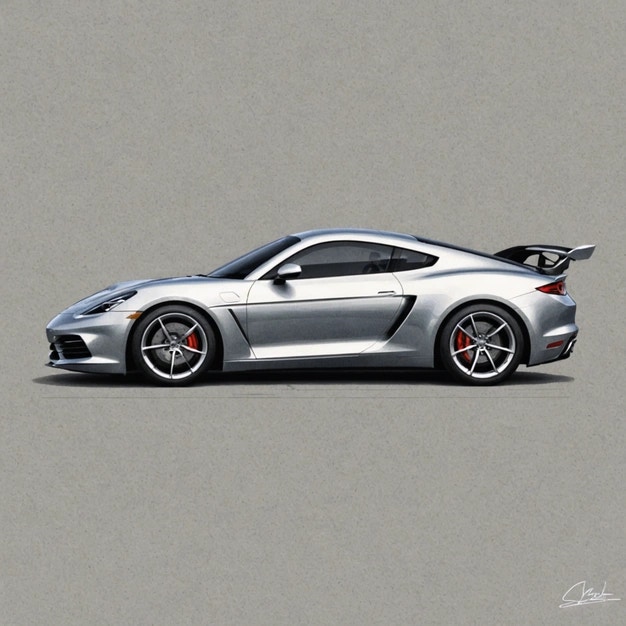
🔹 Sketch to Image
-
Input: Hand-drawn car sketch
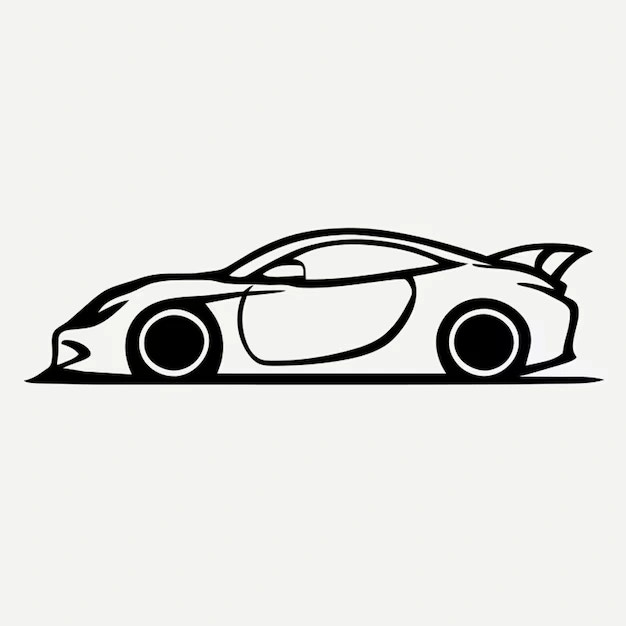
- Prompt: “Generate a realistic sports car based on this sketch.”
- Use Case: Turning rough concepts into finished visuals.
-
Output:
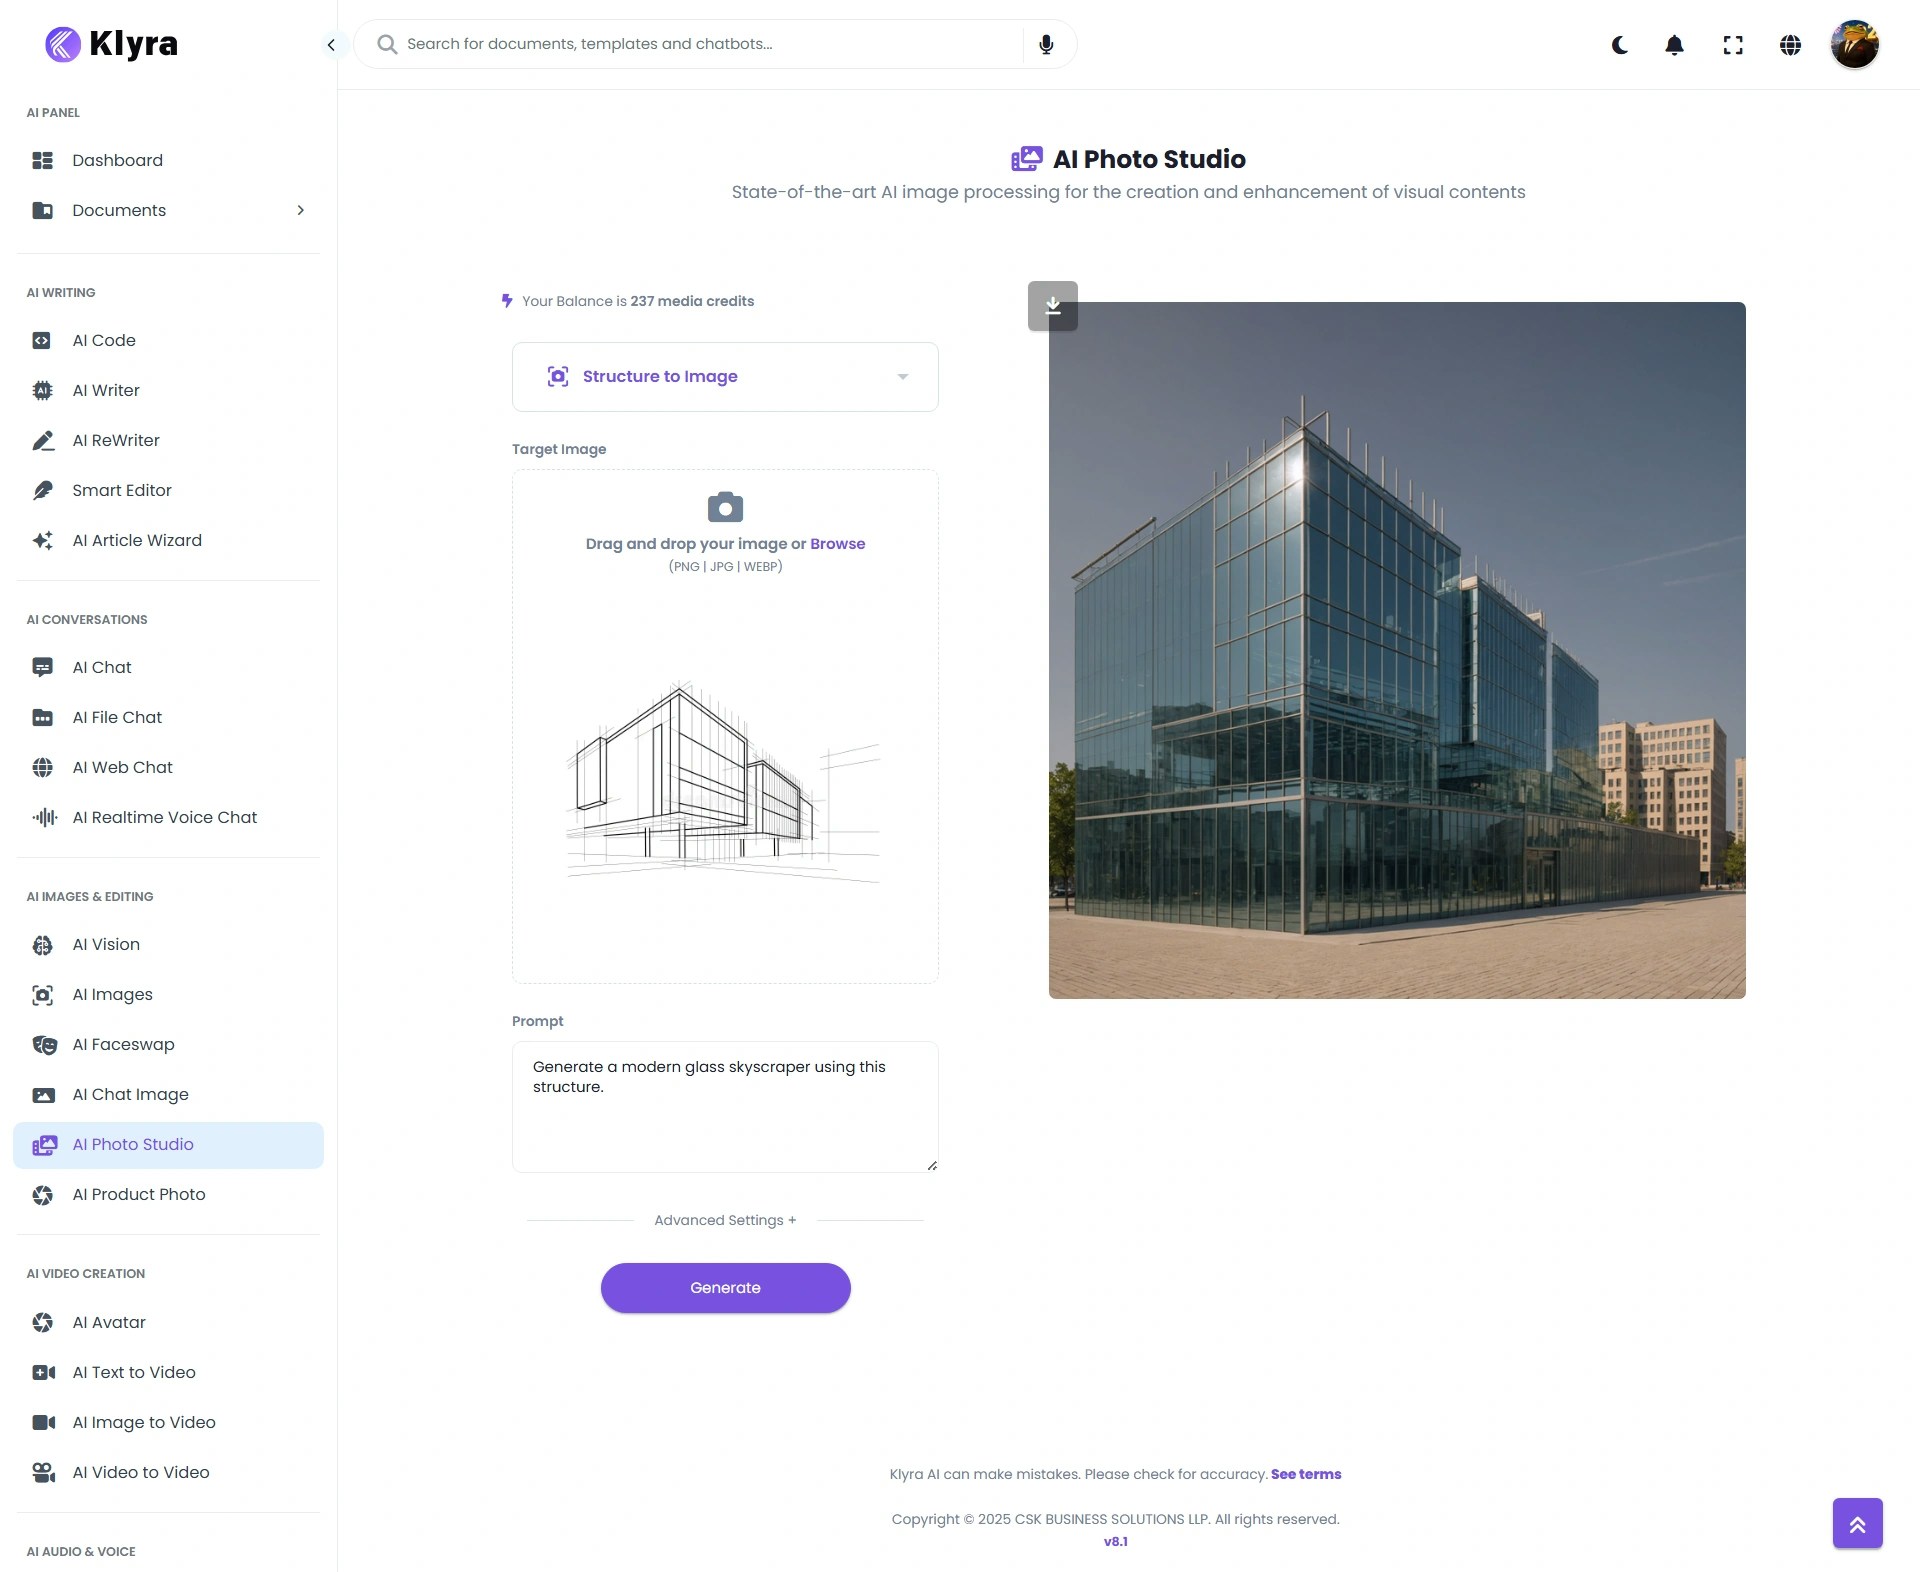
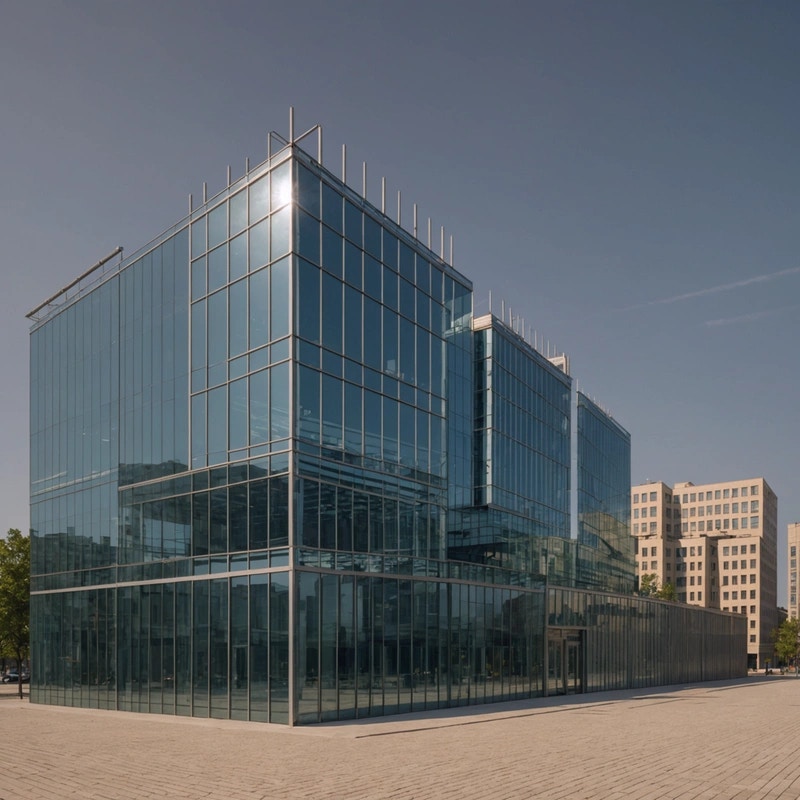
🔹 Structure to Image
-
Input: Building outlines
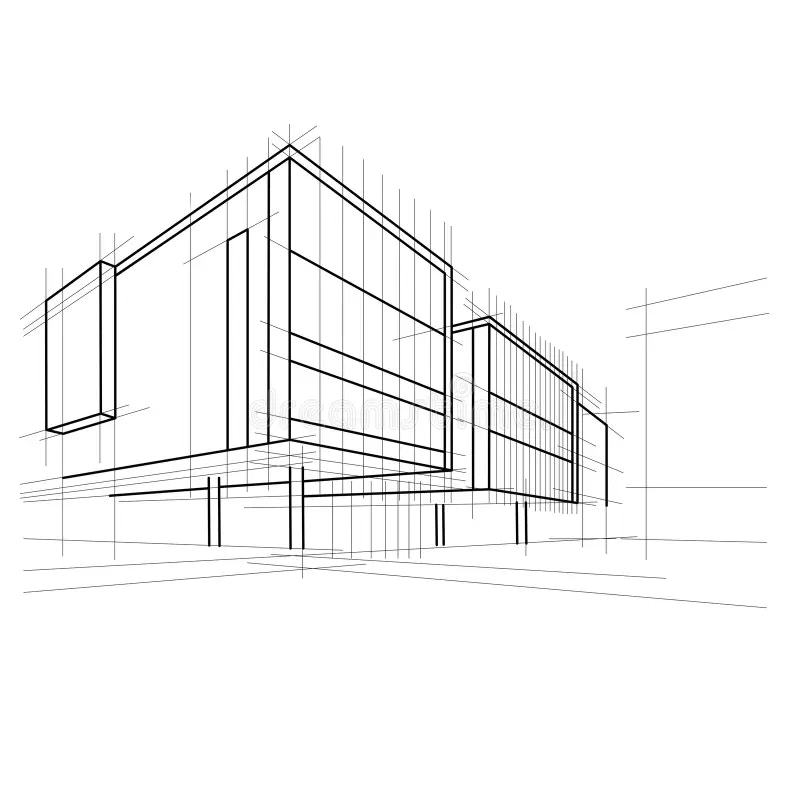
- Prompt: “Generate a modern glass skyscraper using this structure.”
- Use Case: Architectural previews or mockups.
-
Output:
💡 Tips
- Use Reimagine for creative experimentation, Inpaint/Erase for precision fixes.
- Combine Outpaint with Mood + Style prompts to create dramatic extensions.
- For product photos, use Remove Background before placing items into marketing layouts.
- Same Style Image is excellent for maintaining brand consistency across campaigns.
- If you want reproducibility, set a specific seed value.
📌 Example Use Cases
- Design Teams: Reimagine mockups for multiple creative directions.
- E-commerce: Remove backgrounds, upscale images, or replace elements for catalog consistency.
- Marketing Agencies: Outpaint images into banners, ads, or posters.
- Artists & Illustrators: Turn sketches into polished artworks with “Sketch to Image.”
- Photographers: Use conservative upscaling to enhance resolution without losing authenticity.
- Content Creators: Quickly fix photos by erasing distractions or replacing unwanted objects.