

AI Voice Isolator is designed for voice-focused audio cleanup. The goal is to make the speaker’s voice clearer by reducing unwanted background noise.
How AI Voice Isolator works
1
Upload your audio
Choose an audio file by dragging and dropping it into the upload area or selecting Browse.
2
Isolate the voice
Once the file is uploaded, select Isolate Voice to start processing.
3
Review the result
The processed audio appears in the workspace so you can play and review it.
4
Use the processed audio
Once the result meets your needs, use the processed audio in your workflow.
What AI Voice Isolator does
AI Voice Isolator is engineered to remove unwanted background noise and improve voice clarity. It can help reduce sounds such as:- Street noise
- Microphone feedback
- Other unwanted background noise
Open AI Voice Isolator
From the Klyra AI workspace, open AI Voice Isolator under the Voice section.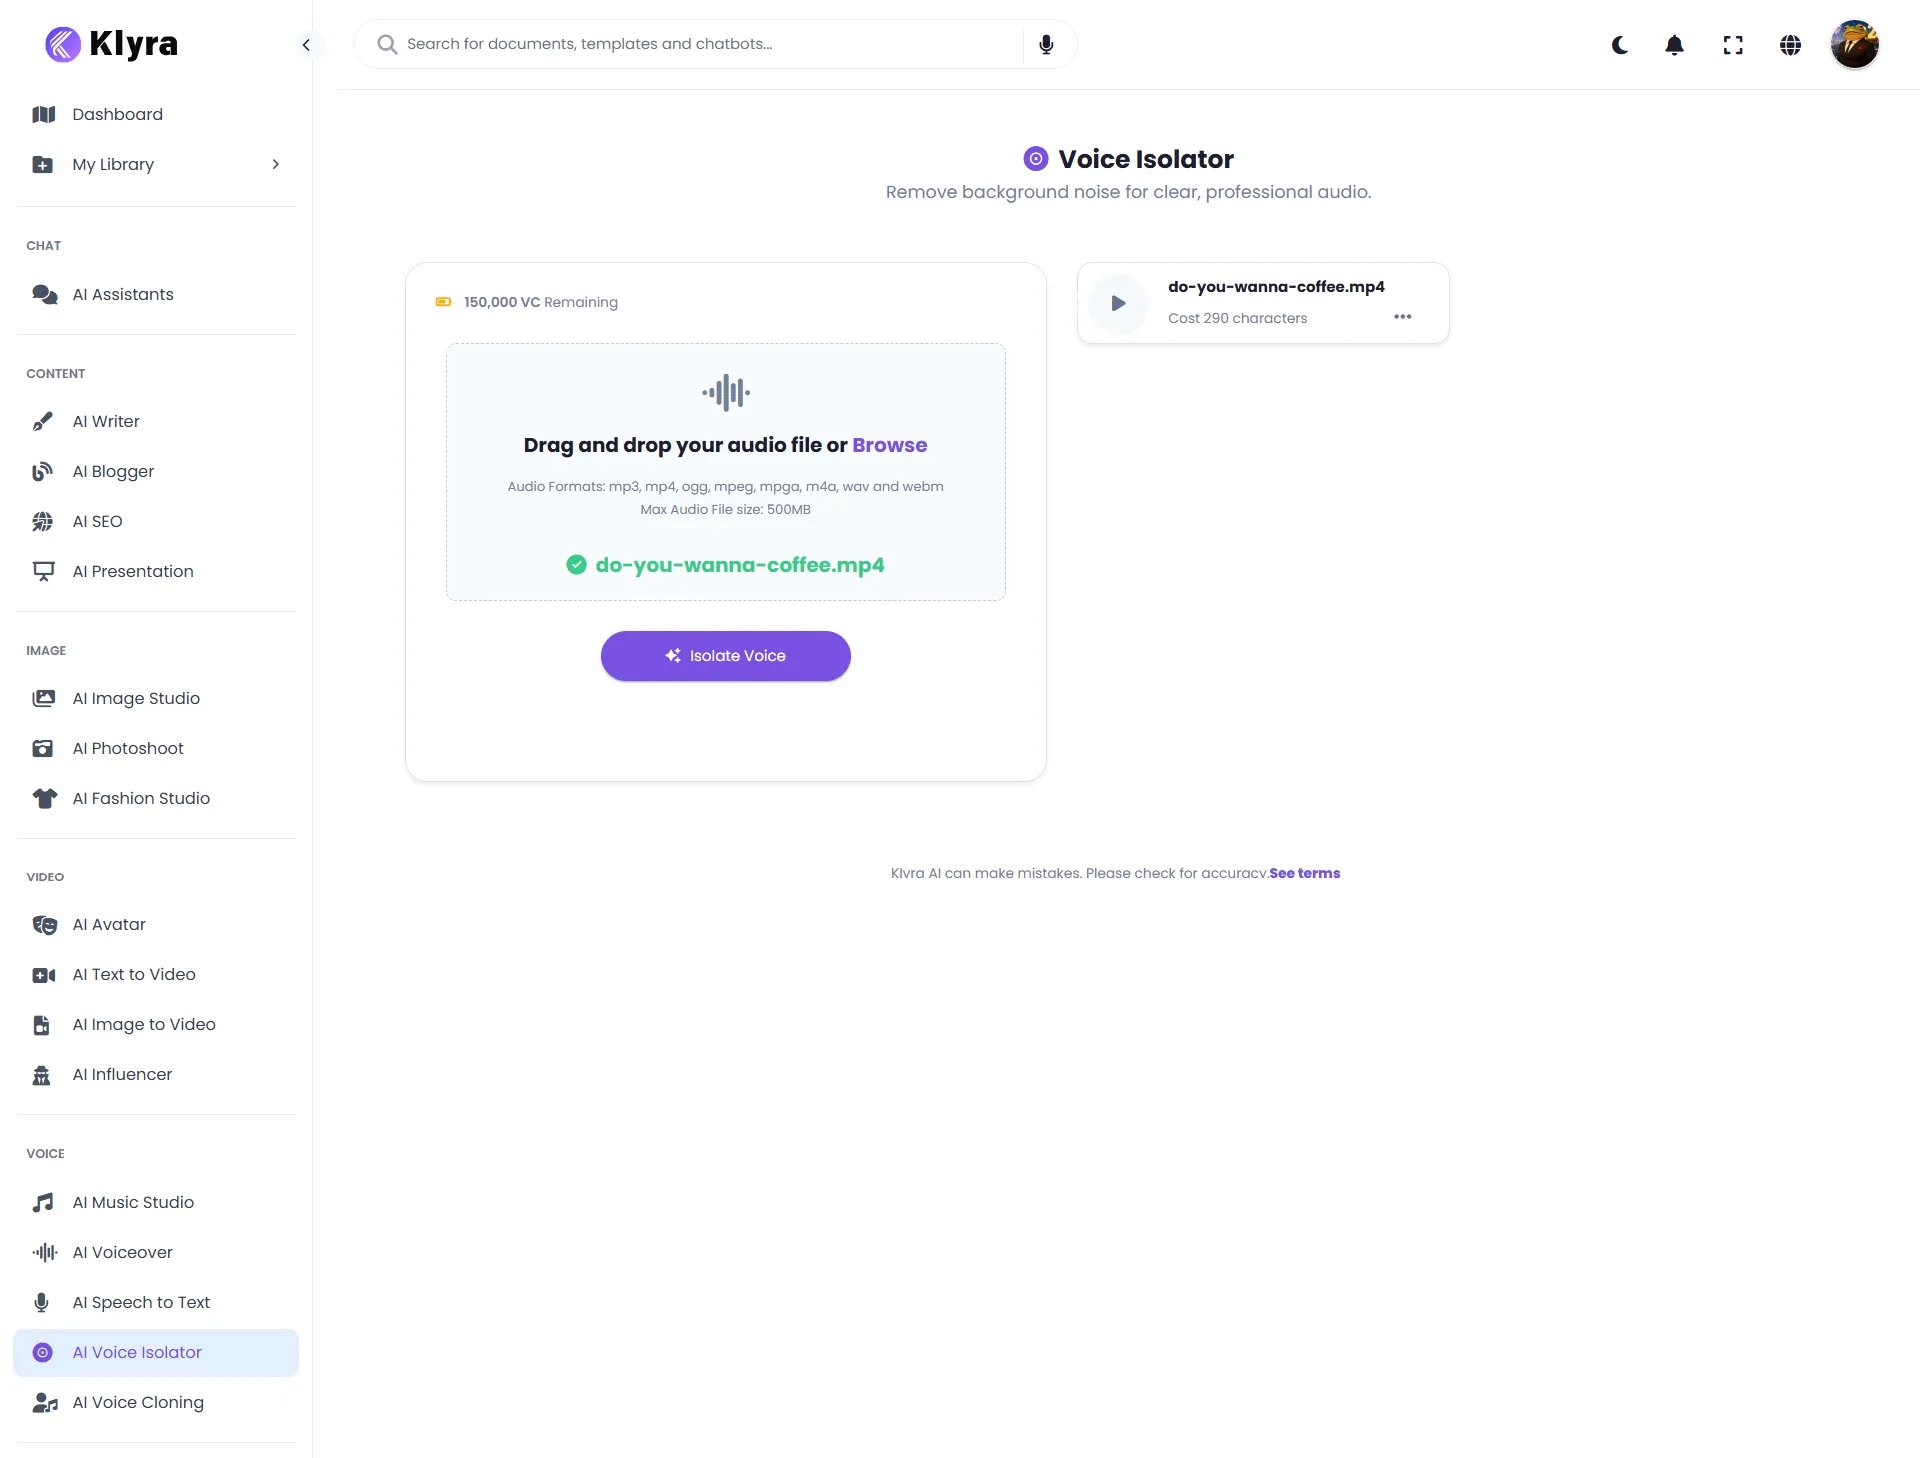
Step 1: Upload your audio
The upload panel provides two ways to add audio:- Drag and drop the file into the upload area.
- Click Browse and select the file from your device.
- MP3
- MP4
- OGG
- MPEG
- MPGA
- M4A
- WAV
- WEBM
Use a supported format and keep the file within the displayed size limit.
Confirm the uploaded file
After the file is accepted, Klyra displays the uploaded filename in the upload area with a confirmation indicator. In the example shown, the uploaded file isdo-you-wanna-coffee.mp4. The file also appears in the audio item card on the right.
Step 2: Isolate the voice
After the audio has been uploaded, click Isolate Voice.Step 3: Review the audio
The audio item card provides:- A Play control
- The audio filename
- The task cost shown for the file
- A More menu
do-you-wanna-coffee.mp4 and Cost 290 characters.
The displayed usage cost can vary depending on the task. Klyra’s customer-facing product terminology uses AI Capacity rather than exposing internal credit systems. fileciteturn0file1
Understanding the workspace
AI Voice Capacity
The top of the workspace displays remaining voice usage. The example interface shows 150,000 VC Remaining. Klyra’s product language presents customer-facing usage as AI Voice Capacity rather than raw internal credit systems. fileciteturn0file1Upload area
The central upload area communicates drag-and-drop support, the Browse option, supported formats, and the maximum file size.Isolate Voice
The Isolate Voice button starts processing after an audio file has been uploaded.Audio item card
The audio card provides quick access to the audio through its play control and additional actions.Recommended workflow
1
Choose your source audio
Select a recording where the speaker’s voice is the primary content you want to preserve.
2
Upload the file
Drag and drop the audio into the workspace or use Browse.
3
Confirm the upload
Make sure the filename appears in the upload area and the file has been accepted.
4
Isolate the voice
Click Isolate Voice and allow Klyra to process the recording.
5
Review the result
Play the processed audio and check that the speaker’s voice is clear and unwanted noise has been reduced.
Best practices
Start with a usable recording
Voice isolation can improve a recording, but source quality still matters. Whenever possible, start with an understandable recording where the speaker’s voice is reasonably audible.Use supported formats
The interface supports MP3, MP4, OGG, MPEG, MPGA, M4A, WAV, and WEBM.Check the file size
The displayed maximum audio file size is 500MB.Review before using the final audio
Listen to the processed recording before using it in a video, presentation, podcast, social post, or other production workflow.Keep the original file
Keep your original recording available so you can compare the processed result or run another version through your workflow.Troubleshooting
My file is not uploading
Check that:- The file uses one of the supported formats.
- The file is within the displayed 500MB maximum.
- Your browser connection is stable.
- You can try Browse if drag and drop does not work.
I cannot start voice isolation
Make sure an audio file has been successfully uploaded and is displayed in the upload area. The Isolate Voice action is intended to be used after a file has been selected.The result still contains some background noise
Voice isolation is designed to reduce unwanted background noise and improve voice clarity. Results can vary depending on the source recording and the type of background noise. Review the processed audio before using it as a final production asset.I want to process another recording
Upload another supported audio file and repeat: Upload → Isolate Voice → ReviewQuick reference
You’re ready to clean your voice recordings
You now know how to:- Open AI Voice Isolator
- Upload a supported audio file
- Confirm the uploaded file
- Start voice isolation
- Review the processed audio
- Understand the workspace and voice capacity
- Troubleshoot common upload issues