

AI Social Media supports one-off publishing as well as scheduled and auto-reposted content. Connected SM accounts can be managed without losing scheduled work.
What you can do with AI Social Media
AI Social Media is designed around a simple workflow:1
Connect your networks
Connect the social accounts you want to publish from using the available account connection options.
2
Create your post
Write a text post or media post, or use the built-in AI Content Generator to create captions, hooks, and full posts.
3
Choose your accounts
Select the connected accounts where the post should be published. Each target account can be toggled independently.
4
Preview the post
Switch between networks to see how the content renders on each platform.
5
Publish or schedule
Publish immediately, schedule the post for a specific date and time, or use auto-reposting when you want content to repeat on a recurring loop.
6
Manage everything centrally
Use Posts, Calendar, and Library to manage your publishing workflow from one workspace.
Supported networks
AI Social Media provides one-tap account connections for:- X
- YouTube
- YouTube Shorts
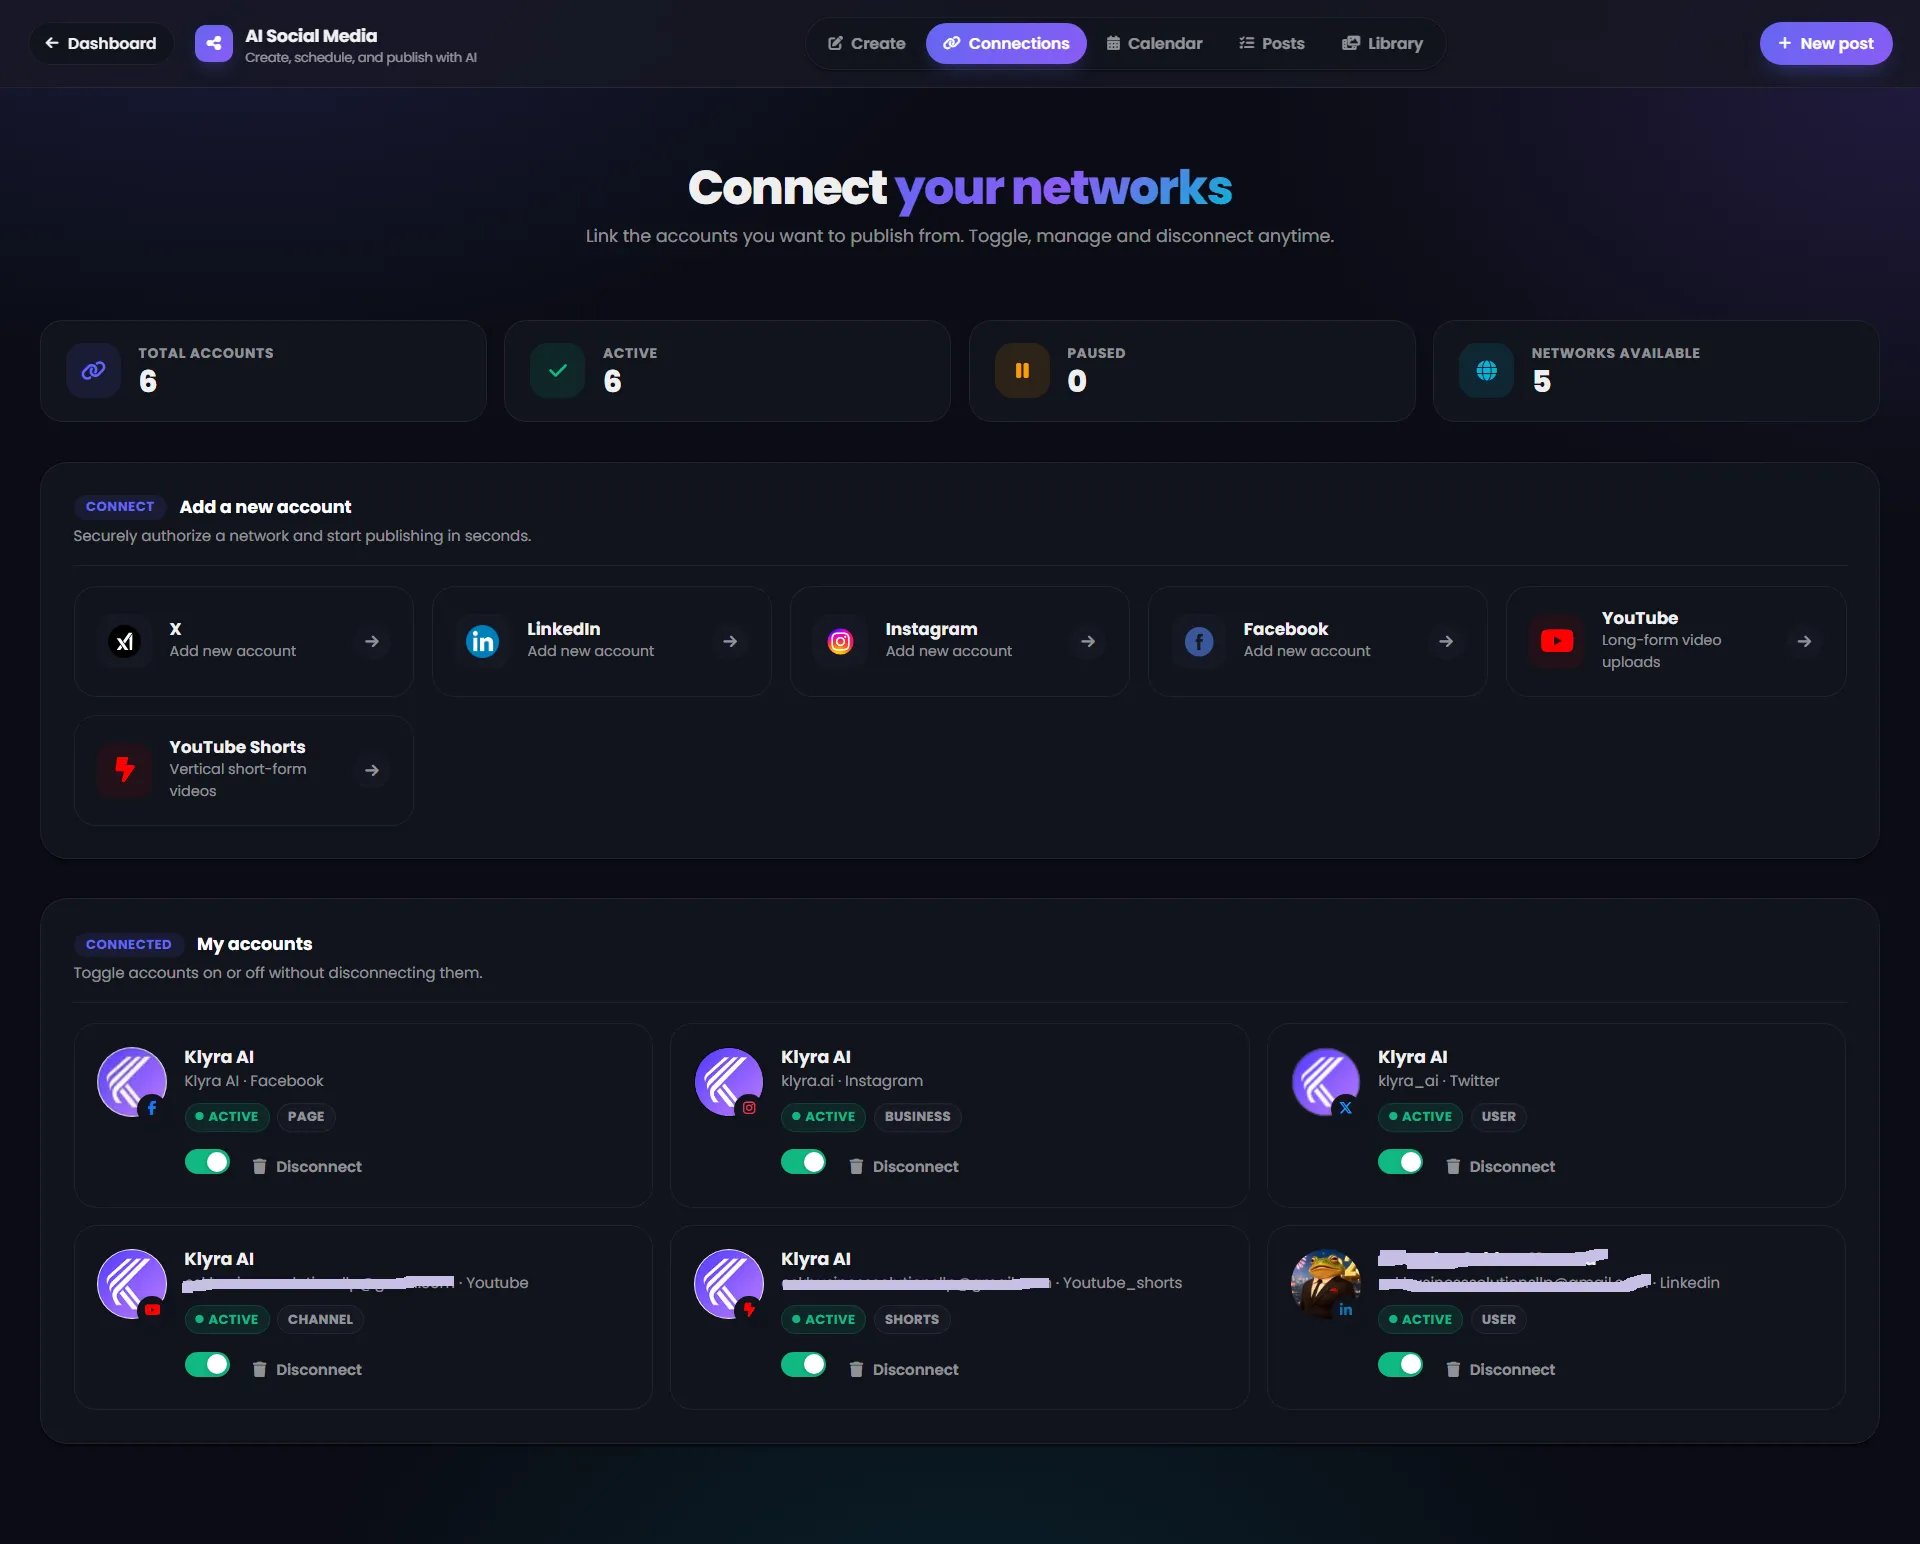
Connect a social account
Open AI Social Media and select Connections. The page is divided into two main areas:- Add a new account
- My accounts
Add a new account
Under Add a new account, select the network you want to connect. The available connection options include:
Select the network and follow the authorization flow.
Use the network you want to publish from. You can connect multiple accounts and choose the target accounts independently when creating a post.
Manage connected accounts
The My accounts section shows connected accounts and their current status. For each account, you can:- Toggle the account on or off.
- Disconnect the account.
- See the connected network.
- See the account type where applicable.
- Total Accounts
- Active
- Paused
- Networks Available
Pausing or disconnecting an account does not remove scheduled work. You can reactivate the account when needed.
Build your media library
Open Library to store reusable media assets. The library is designed for images, videos, and audio that you can reuse across scheduled posts.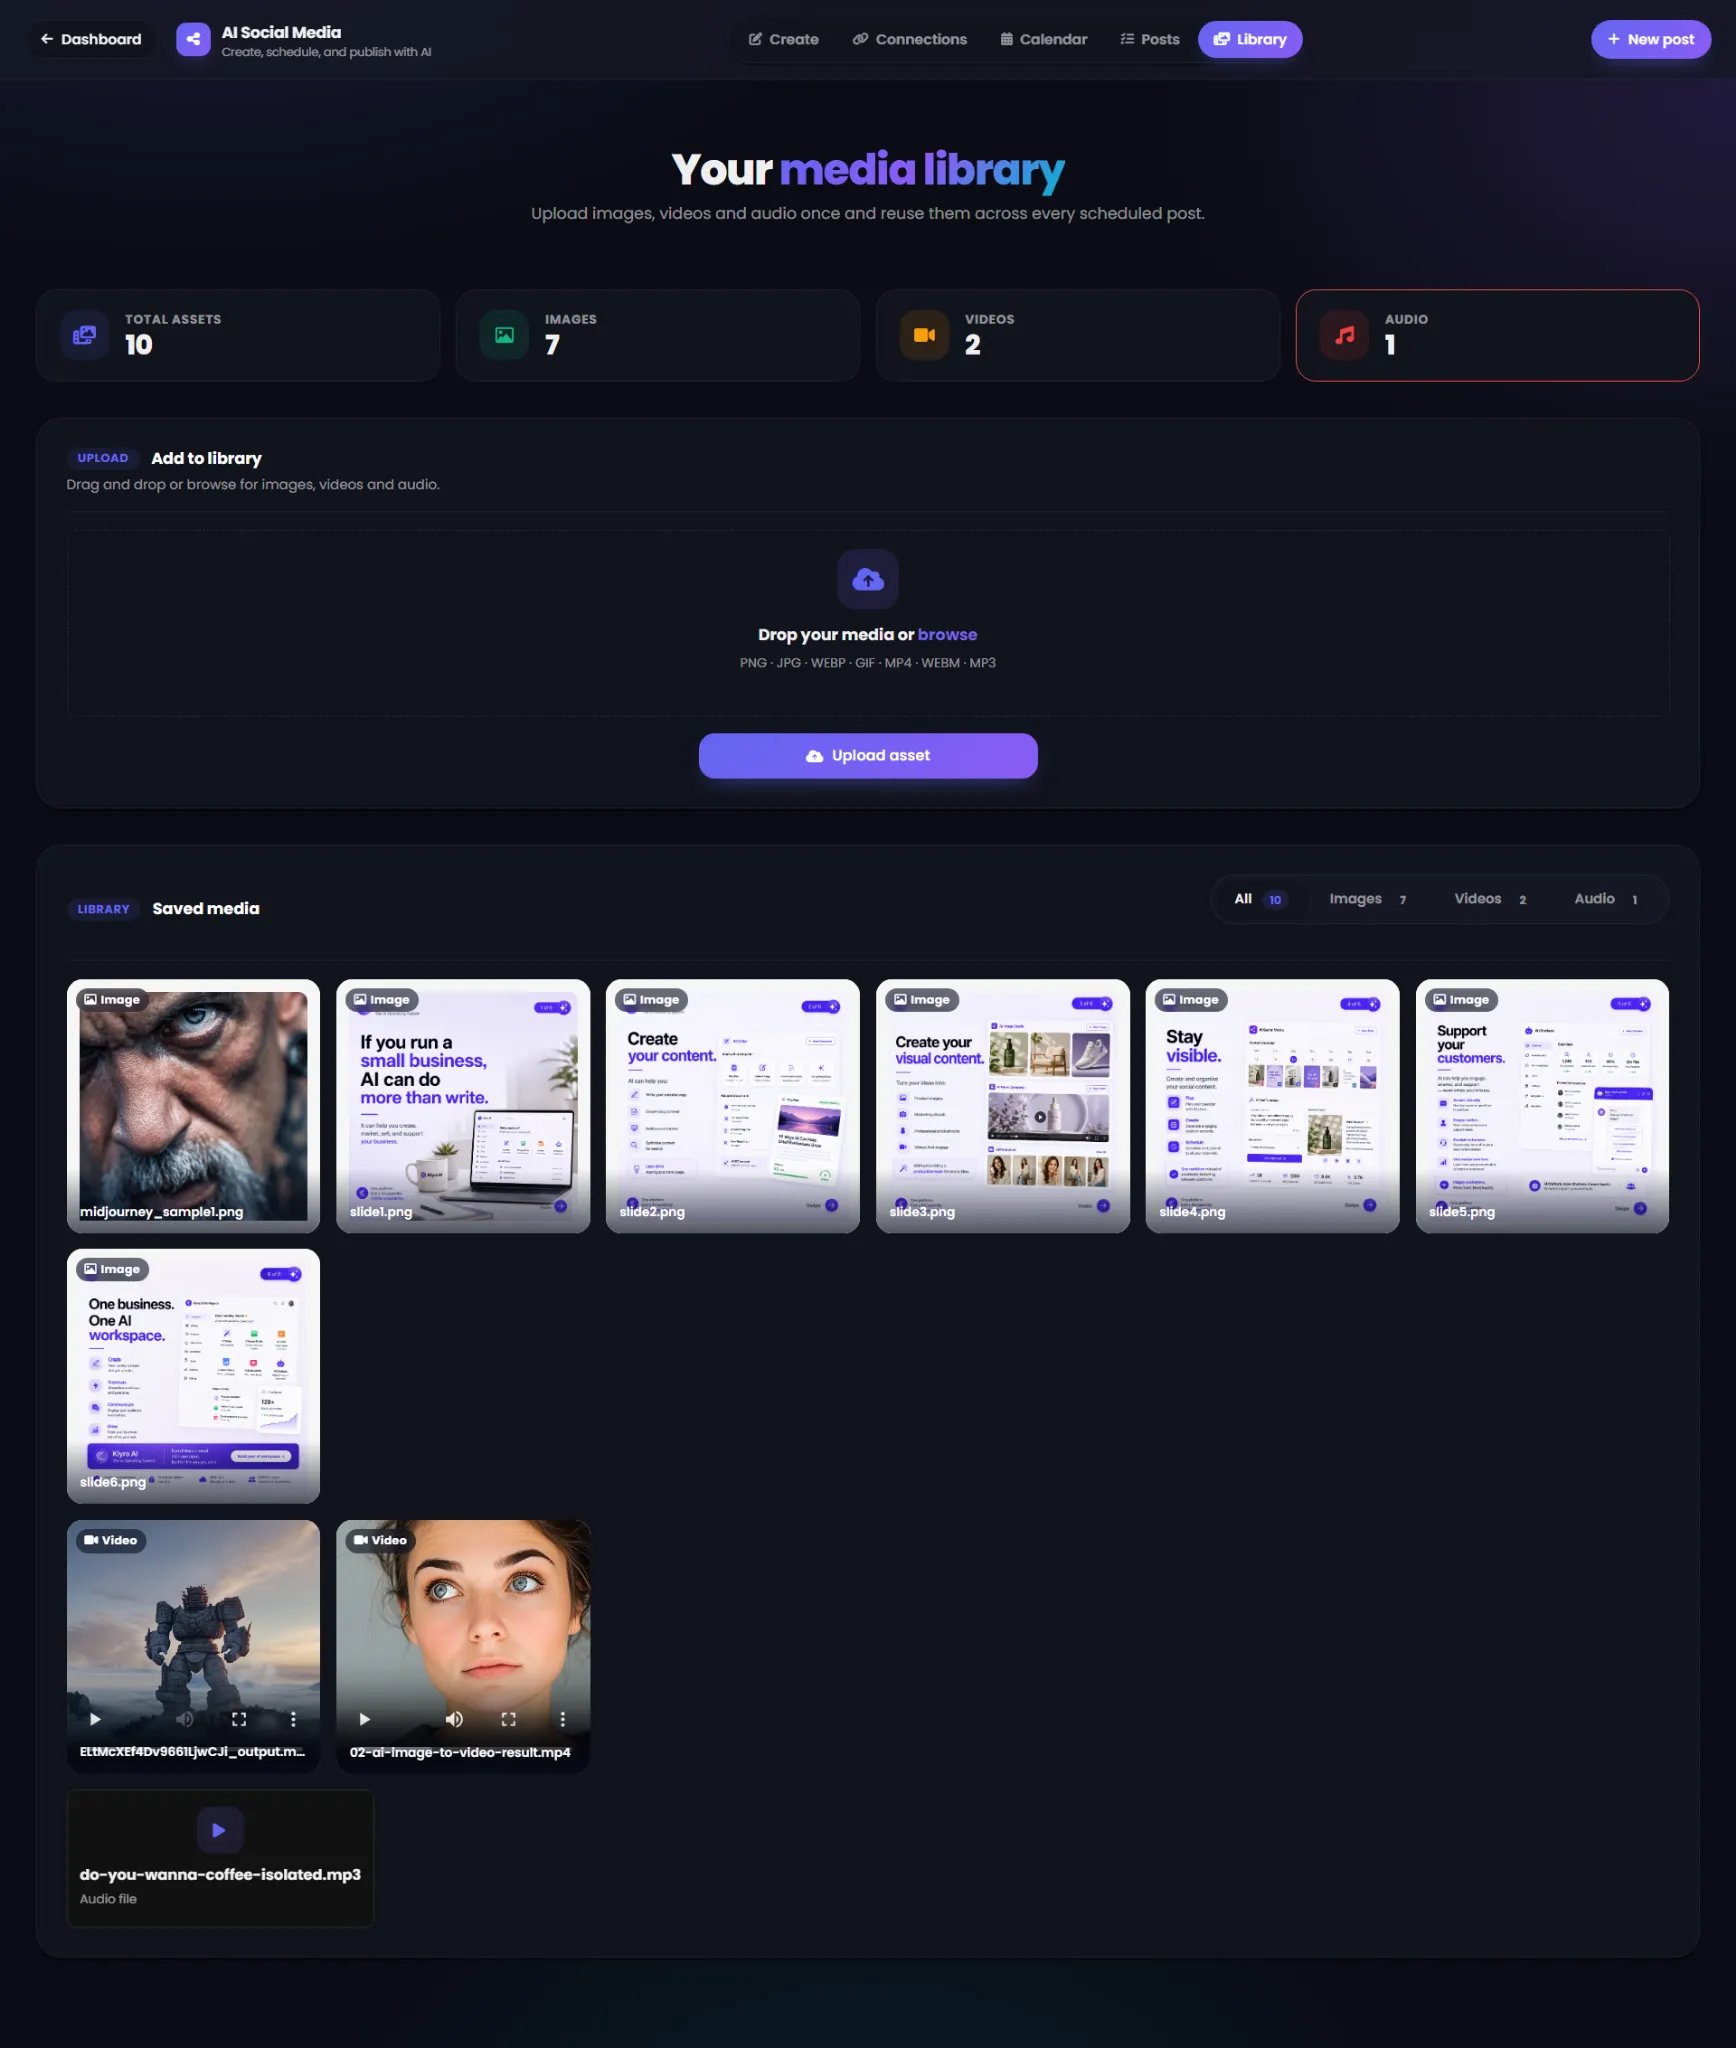
Upload an asset
The Add to library section provides drag-and-drop upload as well as a browse option. Supported formats shown in the interface include:- PNG
- JPG
- WEBP
- GIF
- MP4
- WEBM
- MP3
Browse saved media
The Saved media area provides filters for:- All
- Images
- Videos
- Audio
Create a social media post
Open Create from the AI Social Media navigation. The page is built around two areas:- New post
- How it will look
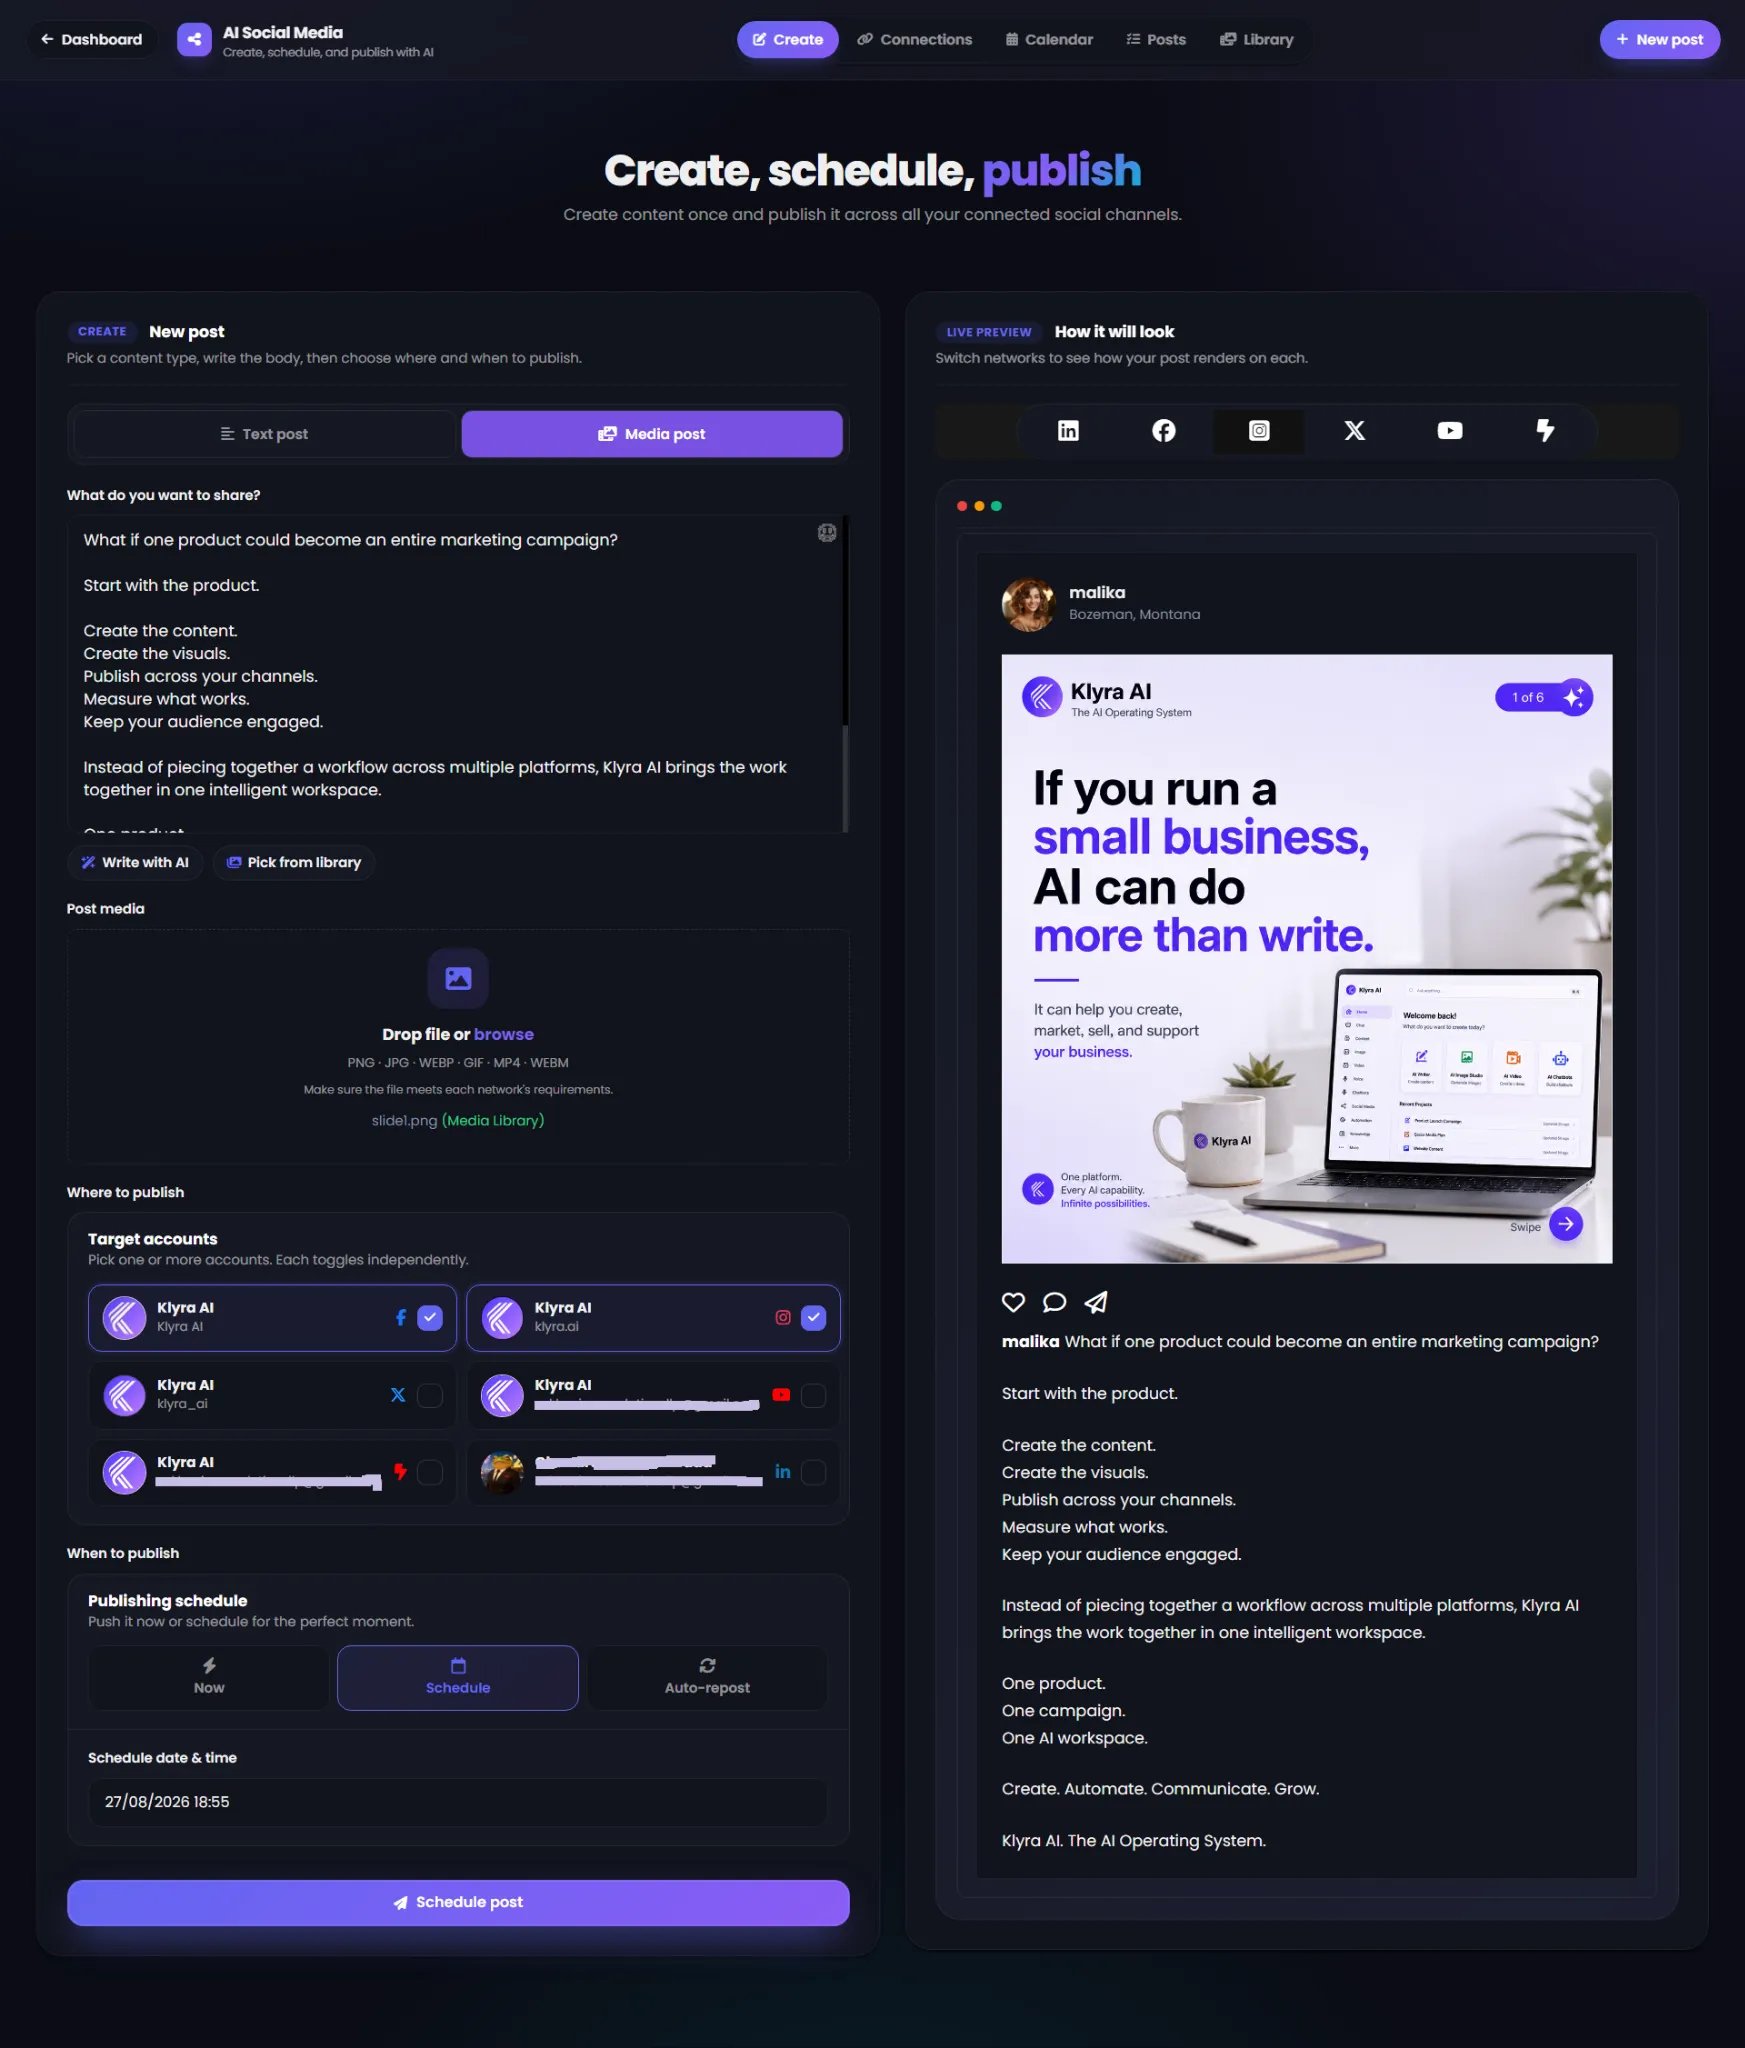
Choose the content type
The composer supports:- Text post
- Media post
Write your content
Use the What do you want to share? field to enter your post content. You can write the post yourself or use the built-in Write with AI action. AI Social Media’s AI content generation supports:- Captions
- Hooks
- Full posts
- Tone-aware copy
- Length-aware copy
- Platform-aware copy
- Reusable prompts aligned with your brand voice
The AI Content Generator is intended to help you create social copy quickly. Review the generated content before publishing.
Add media
For a media post, use the Post media area. You can:- Drop a file into the upload area.
- Browse for a file.
- Pick reusable content from your media library.
Select where to publish
Under Where to publish, the Target accounts section displays your connected accounts. Each account has its own toggle. Select one or more accounts for the post.You do not need to publish to every connected account. Target accounts are selected independently for each post.
Preview your post
The right side of the Create screen contains the Live Preview. Use the network selector at the top of the preview to switch between supported platforms. AI Social Media provides platform-specific previews for:- X
- YouTube
- YouTube Shorts
The preview is intended to show the platform-specific presentation of your content. Review it before scheduling or publishing.
Choose when to publish
Under When to publish, the publishing schedule offers three options:- Now
- Schedule
- Auto-repost
Publish now
Select Now when you want to publish the post immediately. Review the selected accounts and live preview, then submit the post.Schedule a post
Select Schedule when you want the post to publish at a specific date and time. The composer displays a Schedule date & time field. Select the desired date and time, then choose Schedule post.Scheduling is useful when you want to prepare content in advance and maintain a consistent publishing rhythm.
Auto-repost
Select Auto-repost when you want content to publish again on a recurring loop. AI Social Media supports configurable:- Repost interval
- Day-of-week rules
- All days
- Even days
- Odd days
- Weekdays
Manage your posts
Open Posts to see your social publishing activity in one place.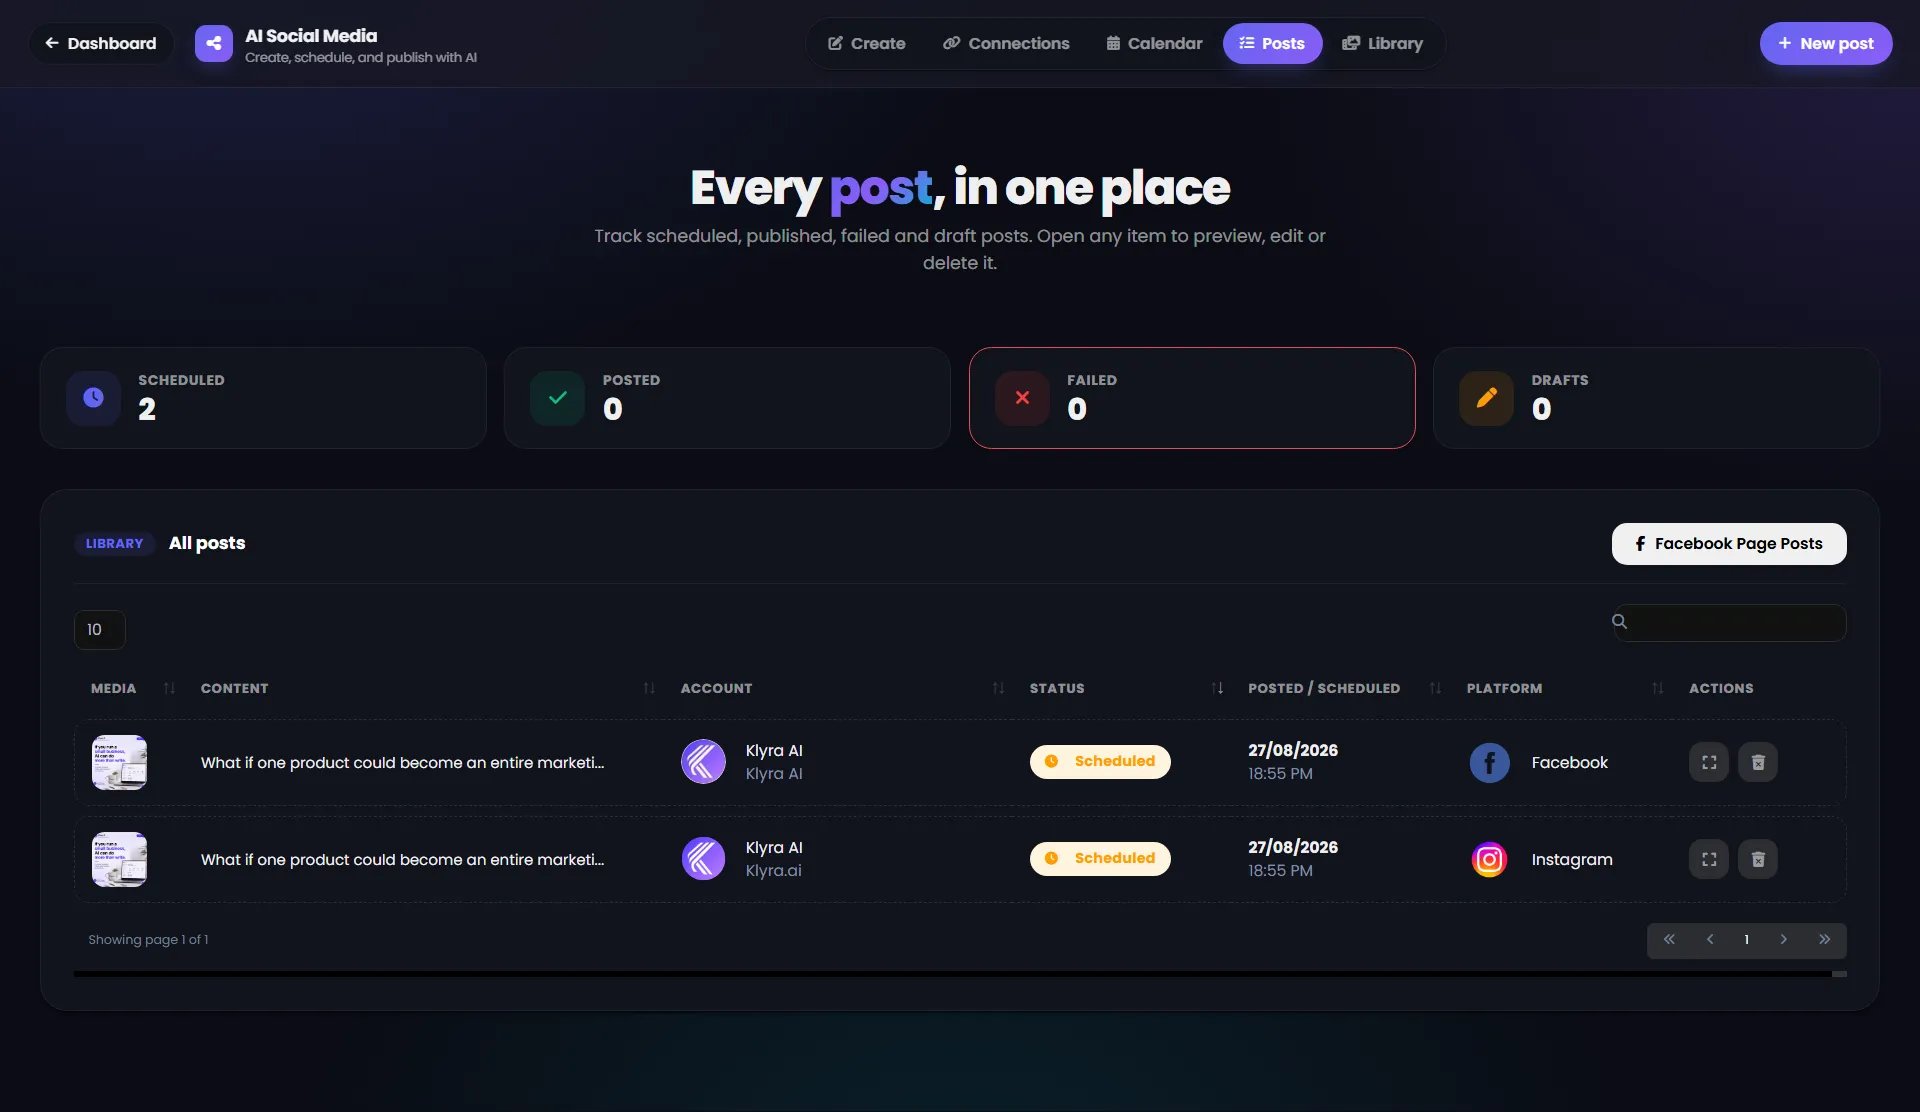
- Scheduled
- Posted
- Failed
- Drafts
Scheduled posts
Posts waiting for their scheduled publication time appear under the Scheduled status. The list can show:- Media
- Content
- Account
- Status
- Posted / Scheduled date and time
- Platform
- Actions
Processing posts
When a post is being published, its status can temporarily show Processing.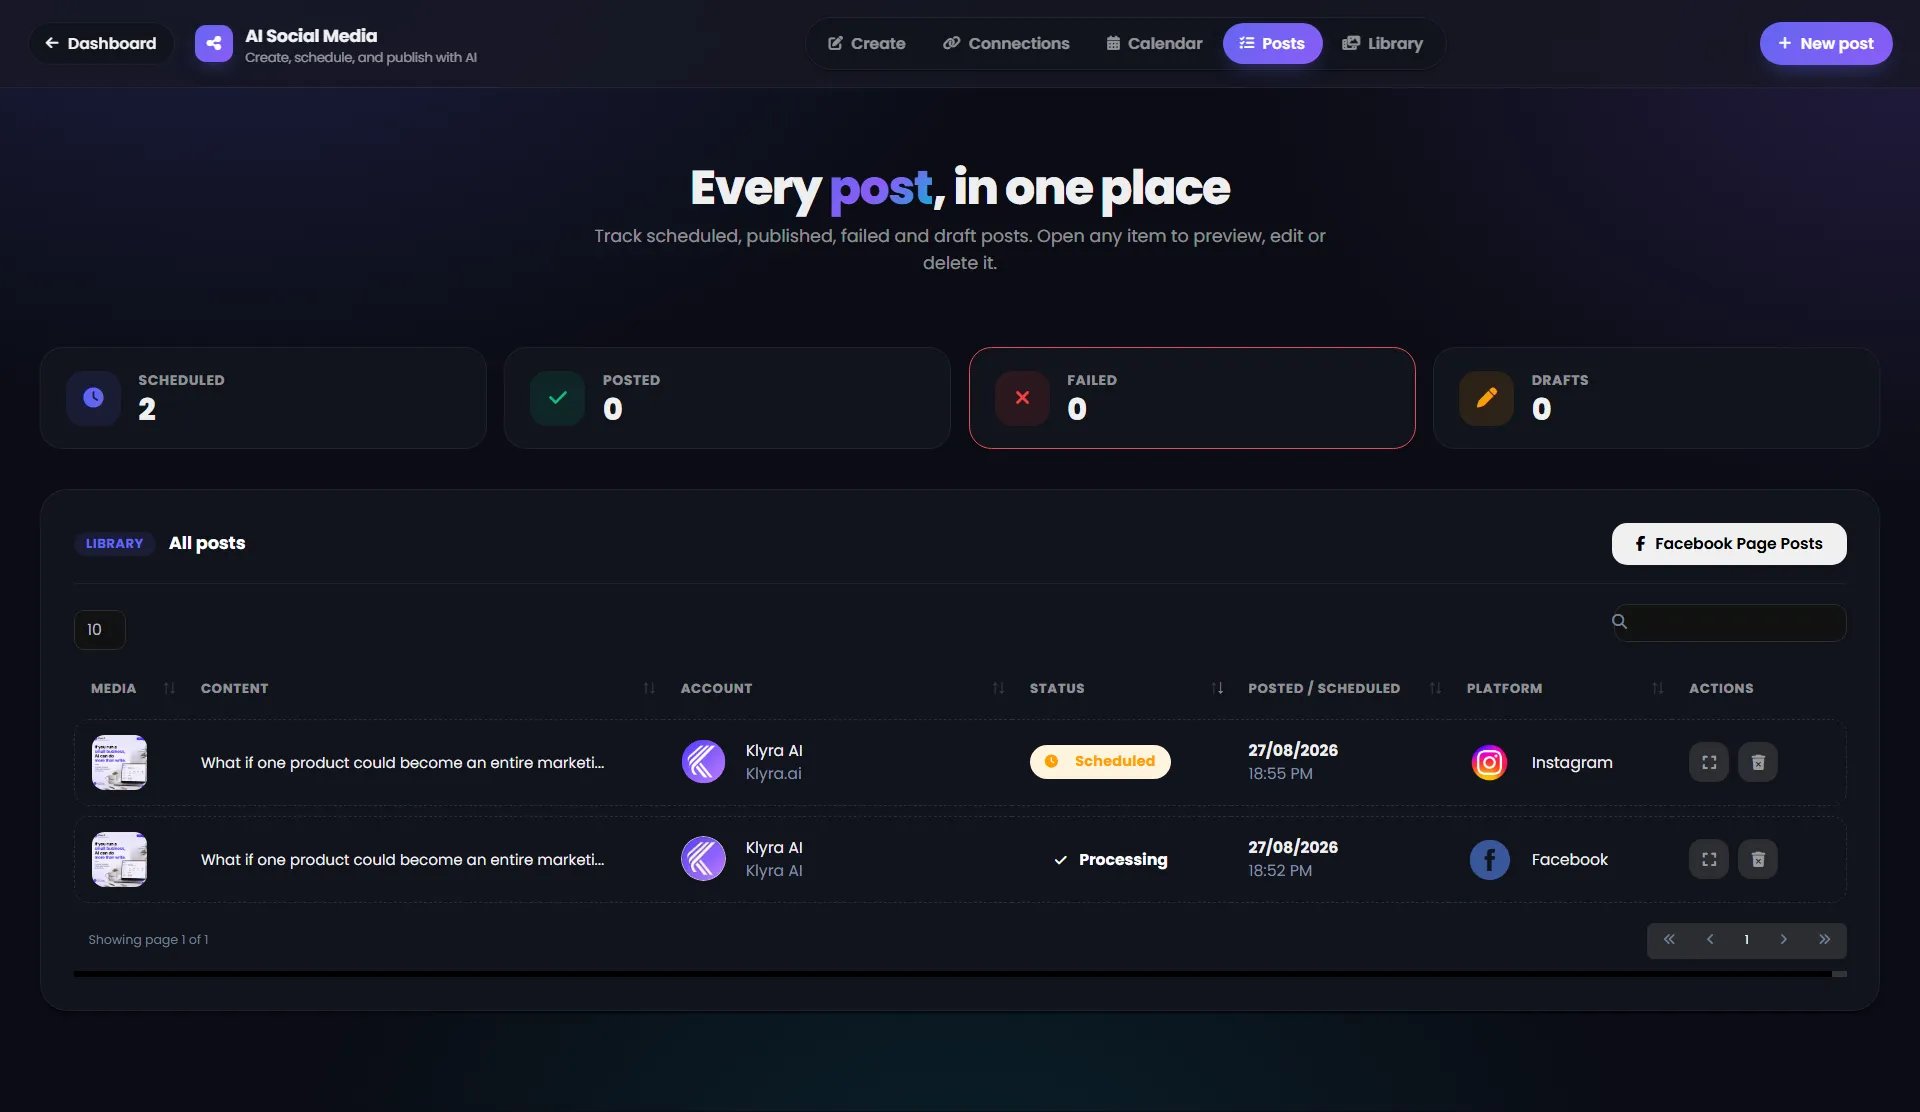
Posted posts
After successful publication, the post appears with a Posted status.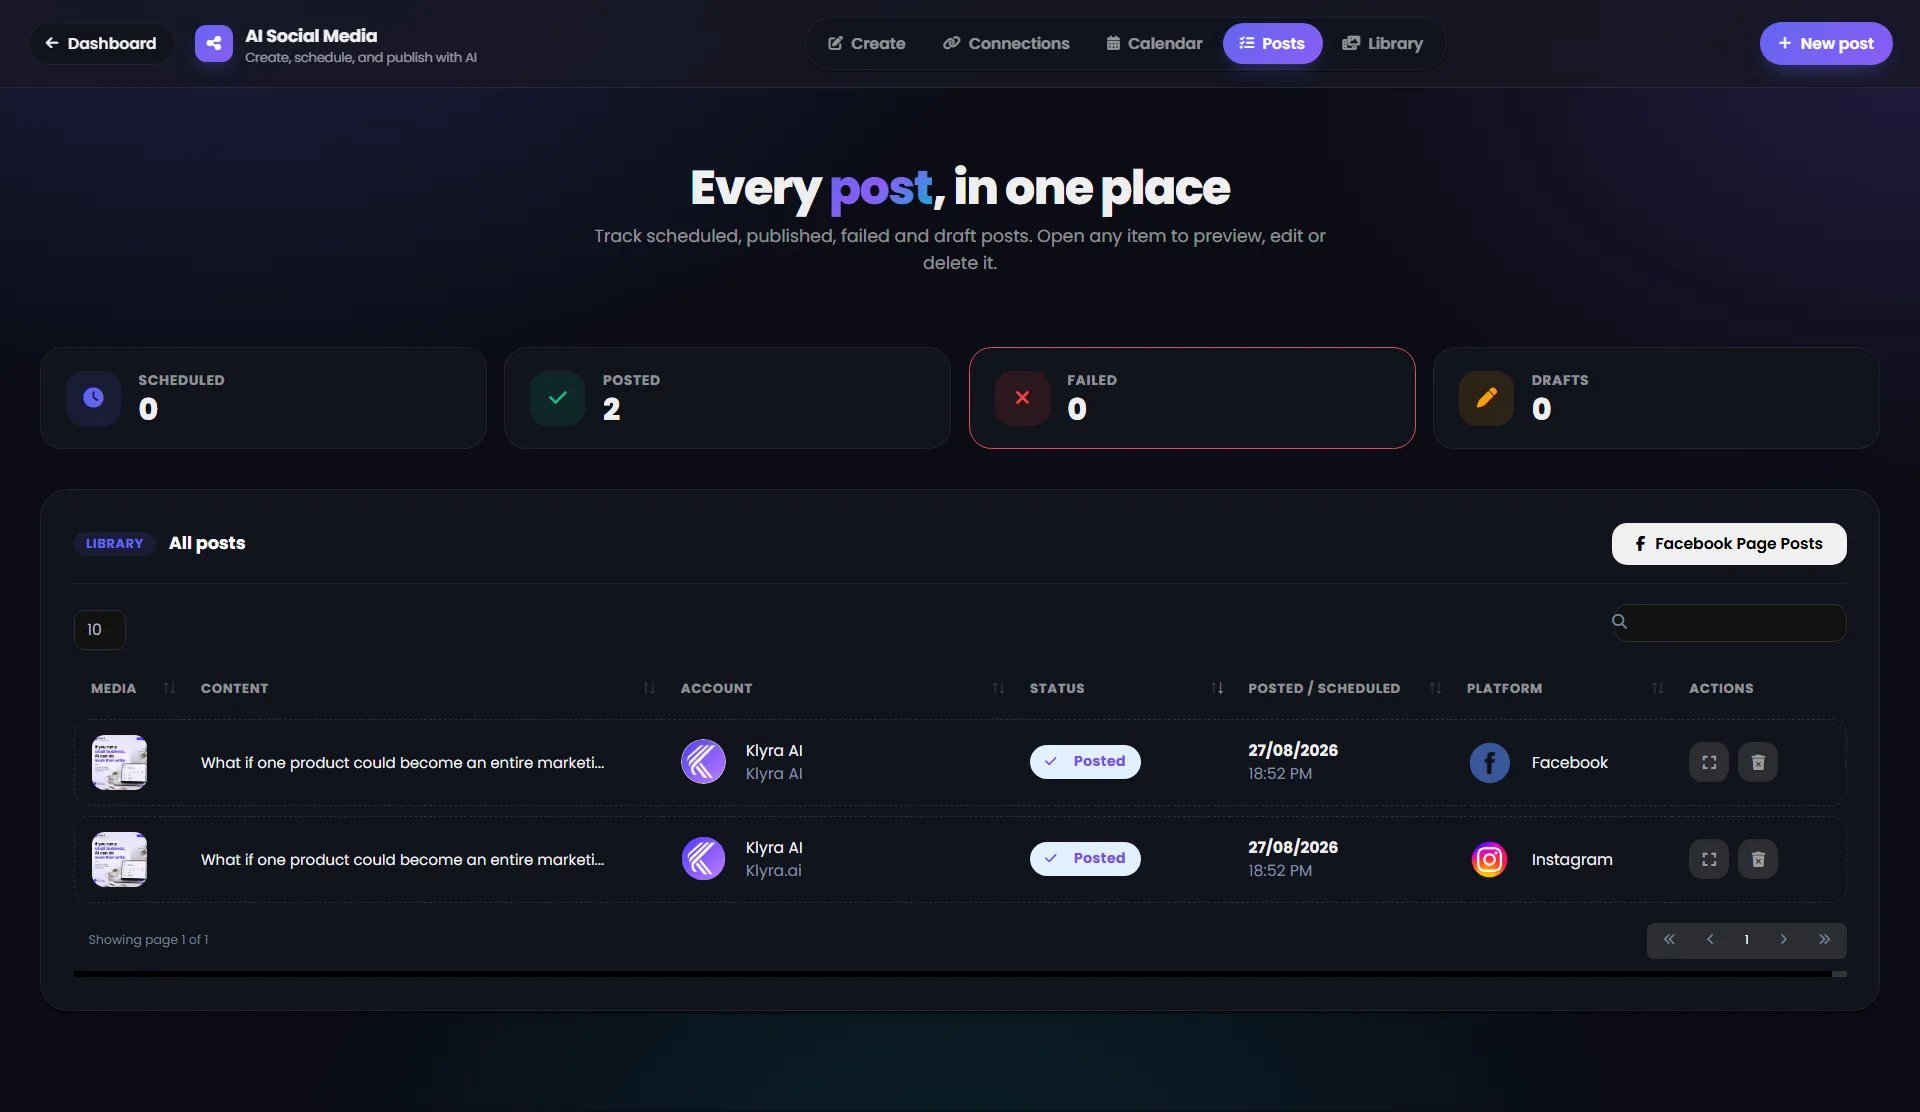
Failed posts
If a publishing operation fails, the post can appear under Failed. Use the post information and account status to determine what needs attention before trying again.Drafts
Posts that have been saved without being published can appear under Drafts. Drafts are useful when you want to prepare content before deciding when or where to publish it.Search and sort your posts
The Posts page includes a search field and sortable columns. Use search when you need to locate a specific post quickly. The archive can be organized using columns such as:- Content
- Account
- Status
- Posted / Scheduled
- Platform
Use the content calendar
Open Calendar to visualize your scheduled and published content on a timeline.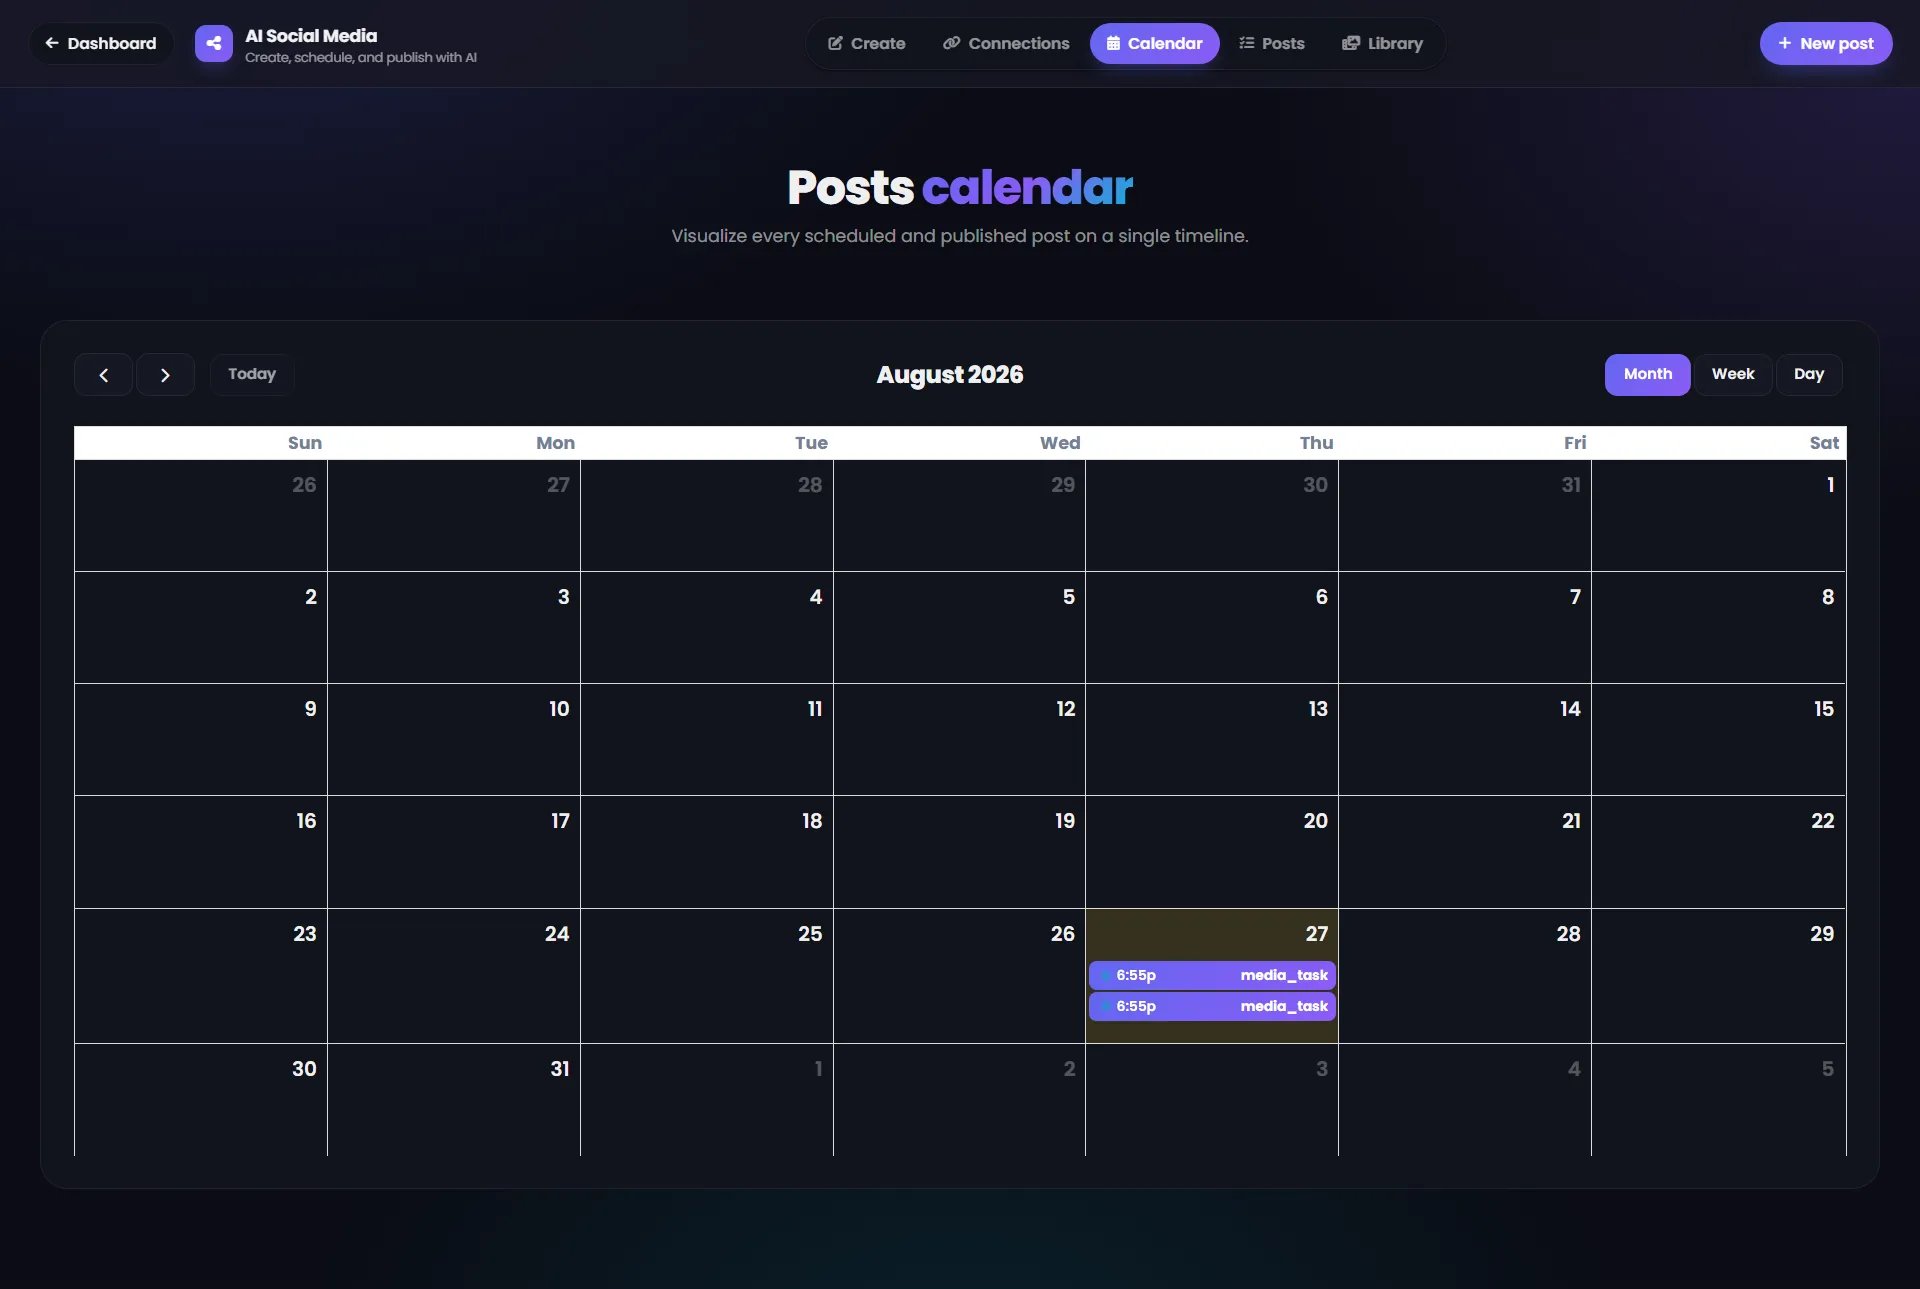
Calendar views
The calendar provides:- Month
- Week
- Day
Month view
Month view provides a broad overview of your publishing schedule. Scheduled items appear directly on their corresponding dates. This makes it easier to identify publishing gaps, clusters of posts, and upcoming content.Week and Day views
Use Week when you need a more focused view of your schedule. Use Day when you want to inspect publishing activity for a single date.A recommended workflow
For a simple and reliable publishing process:1
Connect your accounts
Connect the networks you actively publish to and keep only the accounts you need.
2
Upload reusable assets
Add your frequently used images, videos, GIFs, and audio to Library.
3
Create one post
Write a text post or media post, or use AI to generate the content.
4
Select target accounts
Choose the accounts that should receive the post.
5
Check the live preview
Switch between networks and review how the content will render.
6
Choose a publishing method
Publish now, schedule for a specific date and time, or configure auto-reposting.
7
Monitor Posts and Calendar
Use Posts to track status and Calendar to review the overall publishing schedule.
Best practices
Create once, adapt across networks
Use the unified composer to create the core message once, then use the platform-aware preview to check how it appears on each selected network.Review platform-specific presentation
Different networks have different presentation requirements. Always review the Live Preview before publishing.Reuse assets from Library
Store commonly used media in Library so you can quickly reuse assets across future posts.Use scheduling for consistency
Prepare content ahead of time and schedule it for the dates and times that fit your publishing plan.Use auto-reposting intentionally
Auto-reposting is useful for evergreen content that is designed to be reused. Make sure recurring content remains appropriate and current.Keep account connections organized
Pause accounts you temporarily do not want to publish to and disconnect accounts that should no longer be used.Quick reference
Troubleshooting
A social account is not available as a target
Open Connections and check whether the account is connected and active. If the account is paused, reactivate it before publishing.I cannot find a previously uploaded image
Open Library and use the Images filter or the All filter. The library is designed to keep reusable images, videos, and audio in one place.My post is scheduled but has not published yet
Open Posts and check the post status. A scheduled post remains under Scheduled until its publishing time. During publication, the status may temporarily show Processing.A post appears under Failed
Open the post and check the associated account and publishing details. Also verify that the target social account is still connected and active.I want to publish to only one network
In Target accounts, enable only the account you want to use. Each connected account can be toggled independently.AI Social Media in one workspace
AI Social Media brings the core social publishing workflow together:- Connect your networks
- Create text and media posts
- Generate social copy with AI
- Reuse media from a centralized library
- Preview content across platforms
- Publish immediately
- Schedule posts
- Auto-repost recurring content
- Track scheduled, posted, failed, and draft posts
- Visualize your publishing schedule with the calendar